Buy now, pay later. Rates as low as 0% APR financing with Affirm. Apply Now.
Simple Thanksgiving Rotisserie Turkey Tips With A Basic Dry Brine
I still remember my first turkey success, the one where my guests sat up and said “Wow, this is really good!”. It was a brined turkey, cooked on my trusty kettle grill. That was a good turkey, one I’d be happy to serve today…but I can do better, with the help of my rotisserie and a dry brine.
What’s a dry brine? Instead of soaking the bird in a salt water solution for a few hours, we salt the bird early, and let it rest in the refrigerator for a few days. I get the same deep-seasoned bird, with crisp, crackling skin, and don’t have to deal with a huge pot of turkey-contaminated water when I’m done.
Why rotisserie? The spinning bird bastes in its own juices, resulting in crisper skin and even cooking.
Here is a simple rotisserie turkey with a straightforward, basic dry brine: salt, brown sugar, and black pepper.
Now, simple doesn’t mean plain—dry brining adds a lot of flavor to the bird. Next, I add all the tricks I know—icing the breast, making the U of fire or lighting only the burners near the legs, adding a hint of wood smoke, and cooking to 165°F. This should balance the juiciness of the white meat with thoroughly cooking the dark meat. The end result? A great, simple turkey.
If you don’t have the time to dry brine, rub the turkey with the dry brine right before you put it on the grill. It won’t be as thoroughly seasoned, but it will be a great bird.
Equipment:
Gallon-size zip-top plastic bag full of ice
2 fist-size chunks of smoking wood or 2 cups wood chips (hickory, oak, pecan, or a fruit wood; I love oak wine barrel staves)
Ingredients:
Basic Dry Brine
1½ ounces kosher salt or ¼ cup Diamond Crystal kosher salt or 3 tablespoons Morton’s kosher salt
1 teaspoon light or dark brown sugar
½ teaspoon freshly ground black pepper
12-to–14-pound turkey
Instructions:
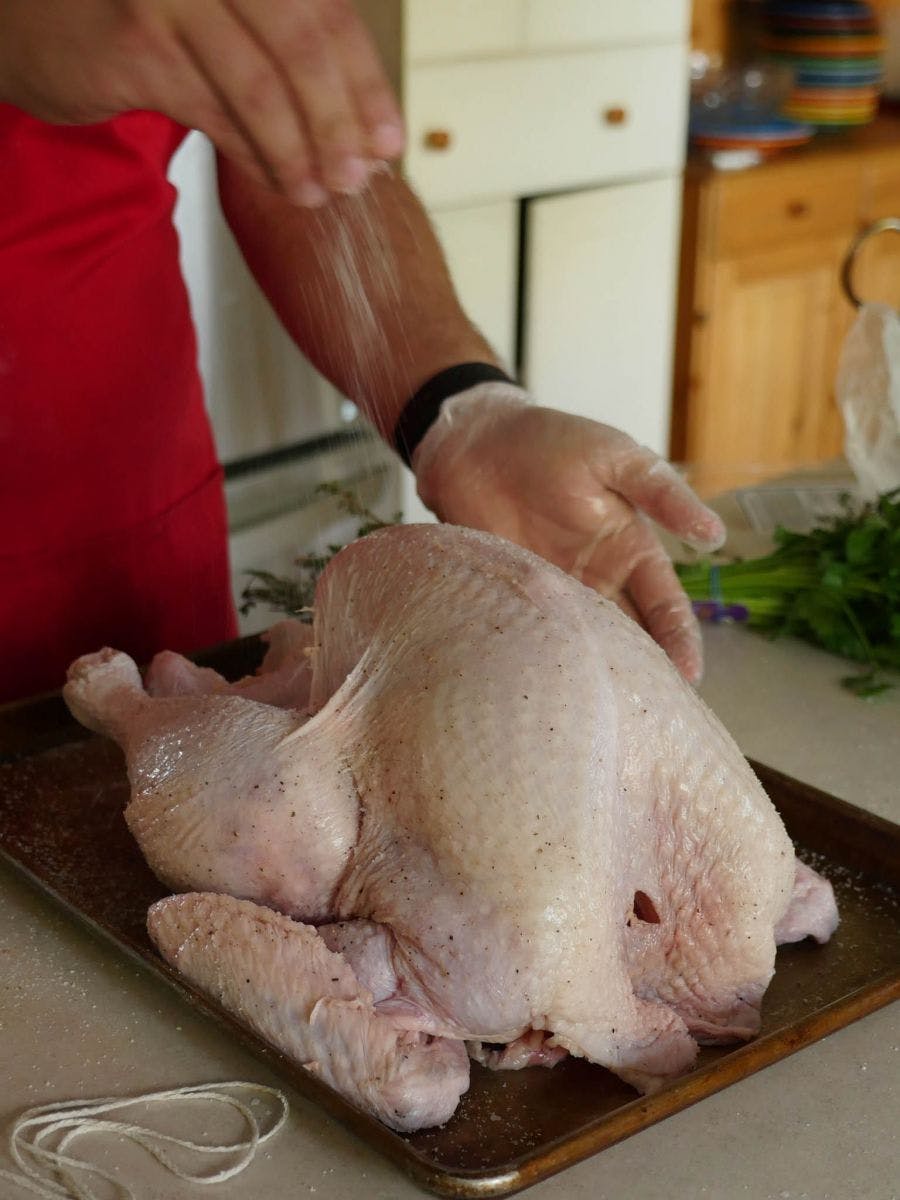
1. Dry-brine the turkey: One to 3 days before it is time to cook, mix the salt, sugar, and pepper in a small bowl. Gently work your fingers between the skin and the breast, then rub some of the brine directly onto the breast meat. Sprinkle and rub the rest of the dry brine evenly over the turkey. Make sure to season the neck and back cavity of the turkey, too.
Put the turkey on a rack over a roasting pan or rimmed baking sheet and cover with plastic wrap. If you are dry brining for only 24 hours, skip the plastic wrap. Refrigerate. Remove the plastic wrap the night before cooking to allow the skin to dry.
2. Truss and spit the turkey: One hour before cooking, remove the turkey from the refrigerator. Fold the wingtips underneath the bird, then truss the turkey. Skewer the turkey on the rotisserie spit, securing it with the spit forks. To keep the breast meat cool, set the bag of ice on the turkey’s breast, arranging it so the ice does not touch the thighs or drumsticks.
Let the turkey rest at room temperature until it is time to cook. (For trussing details, see my video: How to Truss and Spit a Turkey for the Rotisserie.)
3. Test the rotisserie Put the spit on the grill and turn on the motor. Be sure to test that your food fits and freely spins on the rotisserie. (It is crucial to test this out before you preheat the grill.) Put a drip pan below the turkey to catch the drippings.

4. Set up the grill: Set up the grill for indirect medium heat (325° to 350°F), with the drip pan in the middle of the grill and the heat concentrated on the drumstick side of the grill. If you are cooking with charcoal, pour the charcoal in a “U” shape on one side of the grill, and put the drip pan in the center of the “U”. Add the smoking wood to the fire.
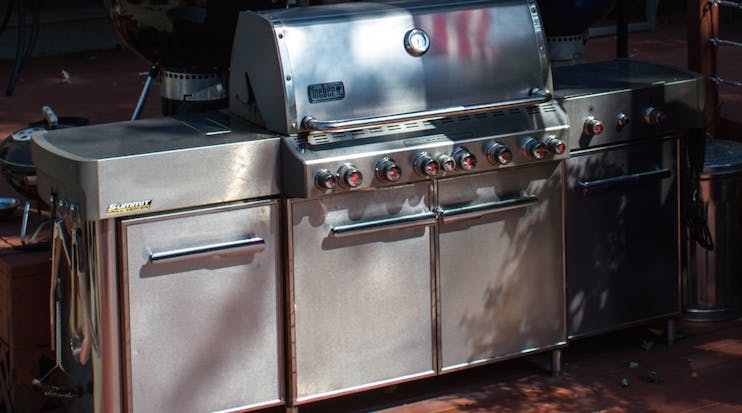
If you are cooking with gas, shift the indirect heat to one side of the grill by lighting more burners on the drumstick side. (If possible - if you have a three burner grill, that may not be possible, so just go with indirect heat. On my 6 burner Weber Summit I turn on burner 6 and the smoker burner to shift the heat to one side.)

5. Rotisserie the turkey: Discard the bag of ice. Put the spit on the grill with the drumsticks pointed toward the heat. Start the rotisserie spinning, and make sure the drip pan is centered under the turkey. Close the lid.
If you are using a charcoal grill, add 16 unlit briquettes every hour to keep the heat going. Cook until the turkey reaches 165°F in the thickest part of the breast, about 2 ½ hours.
6. Carve and serve: Remove the turkey from the grill, remove the spit from the turkey, and cut the trussing string loose. Let the turkey rest for 20-30% of the cook time before carving. Arrange the carved turkey on a platter and serve. Before you carve into that beautiful bird, share your pictures on social media with us! #BestTurkeyEver
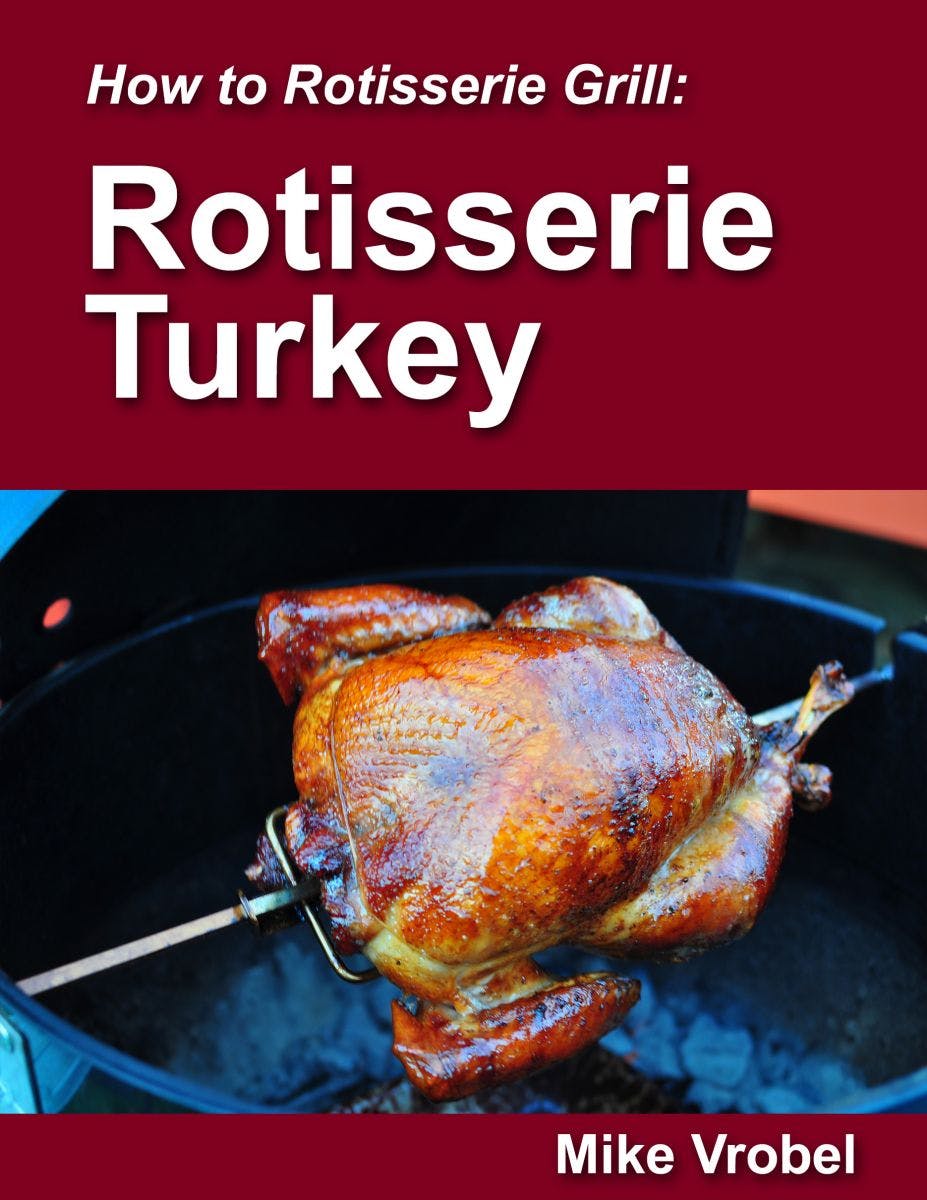
If you want even more inspiration, check out my newest book. Rotisserie Turkey: 29 Recipes for Turkey on Your Grill’s Rotisserie (How To Rotisserie Grill series)
Paperback, 140 pages, available on Amazon.com for $8.99.
 Does your grill have a rotisserie? It’s time to talk Turkey.
If you are just starting out, Rotisserie Turkey will teach you the basics. How do you set up the rotisserie? What equipment do you need? How do you secure the bird on the rotisserie spit? Why is turkey a unique challenge? It’s all explained.
There are 29 recipes in the book. From a simple dry brined Rotisserie Turkey to Turkey Breast with Honey and Bourbon glaze, and everything in between. There are recipes to fill up the drip pan, bathing stuffings and potatoes with the turkey drippings, and a section on soups you can make with the leftover turkey carcass. (You do save your turkey carcass to make soup, right?)
Adapted from: How to Rotisserie Grill: Rotisserie Turkey by Mike Vrobel. Visit Mike at DadCooksDinner.com.