Buy now, pay later. Rates as low as 0% APR financing with Affirm. Apply Now.
Grillography: Mastering Your Grilling Photography
If you follow fellow Weber fans through social media platforms like Instagram, Twitter, or Facebook, you know they love to take photos of their grilled adventures. I wholeheartedly include myself in this group of shutterbug grillographers.
It is one thing to enjoy a great grilled meal. It’s another to share it with thousand of like-minded grillers who equally enjoy the thrill of perfect grill marks, the glistening bark of smoked brisket, or the hot glow of burning coals.
As technology advances, a great picture can come not only from cameras and lens costing several thousand dollars, but the smart phone in your hip pocket. Don’t forget though, the quality of your camera is secondary to taking a great grilled picture. How you “fill the frame” makes you not only master of the grill, but a master of grillography.
As the official Grillographer of Weber Nation, here are some tips to make your next set of grilled dinners screen licking worthy.
- The Rule of Thirds: The subject of the photo does not have to be dead center. The Rule of Thirds refers to four intersecting lines which divide the frame into 9 equal boxes. The human eye is drawn to the symmetry of these lines. Experiment with moving your subject around and framing the key points of your photo to the intersecting lines. Put the steak to the left third of the image. Move the chicken to the right. While the center certainly works, playing with the angles and sides of the frame can produce a more dramatic shot.
- Light: One of the most important elements of a good photo is good light. While a flash mounted on your camera or phone certainly provides light, it’s the last thing we really want to use when photographing food. Natural light works best and better yet, plenty of it. Without enough light, images can come out dark and grainy. Short on light? Use a white reflective card to bounce light on to your subject, or if you are feeling really adventurous, daylight balanced bulbs in reflective shop lights work great around the grill.
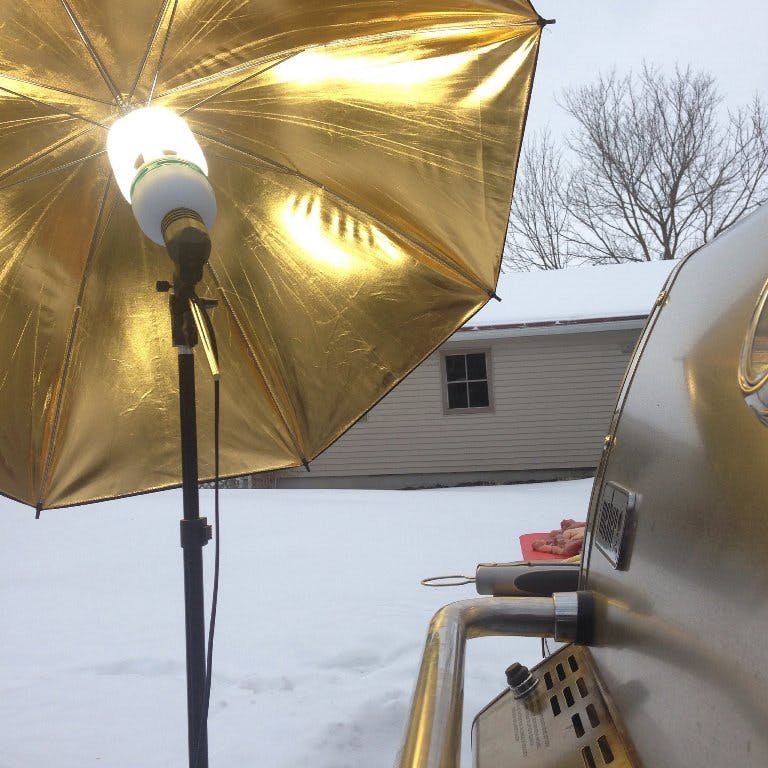
- Get in close. I approach my grillography like a National Geographic photographer approaches wildlife on the Serengeti. I get in as close as possible to capture as much detail as I can. A steak centered on a kettle grate looks good. Fat dripping off a steak resulting in a short flare-up from the coals below looks great. Keep your head down, and get in there.
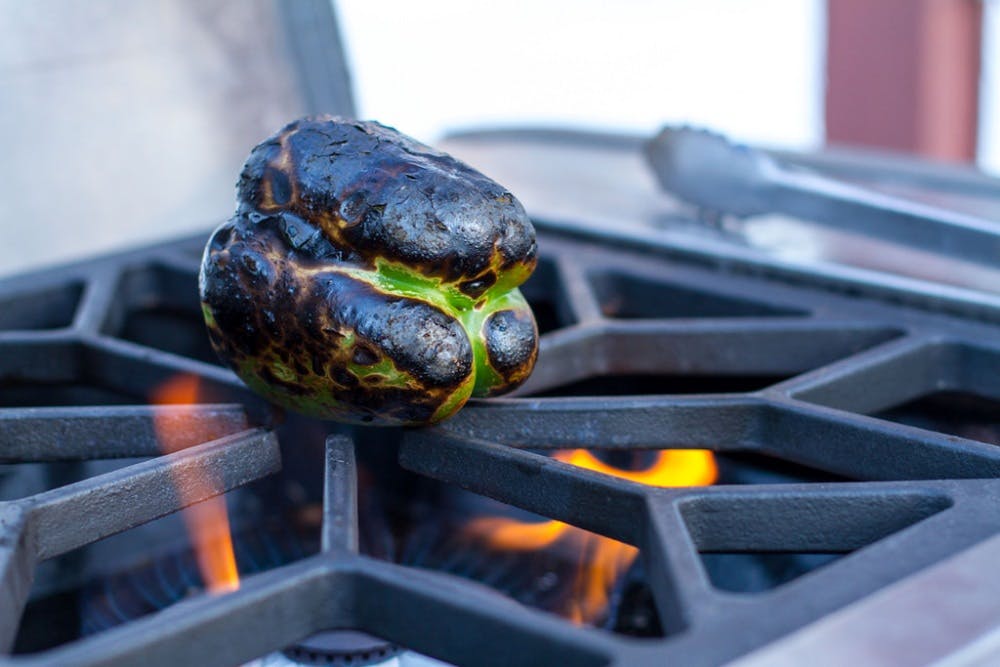
- Take lots of pictures. While I may only post one picture of a meal, I probably took over thirty to get that “one shot.” Digital media is cheap, no matter the camera in play. Take advantage of it. Don’t settle for one click of the shutter. Take one, take twenty.
- Make the grill alive: Just as described in the “get in close” example above, a steak can look good on the grill, but it can look a lot better when something is happening. Without a hint of flame, grease, or smoke, the steak may look static and worse yet, as something cooked hours ago. Wait for the picture with licking flame or rising smoke. Those images are...alive.
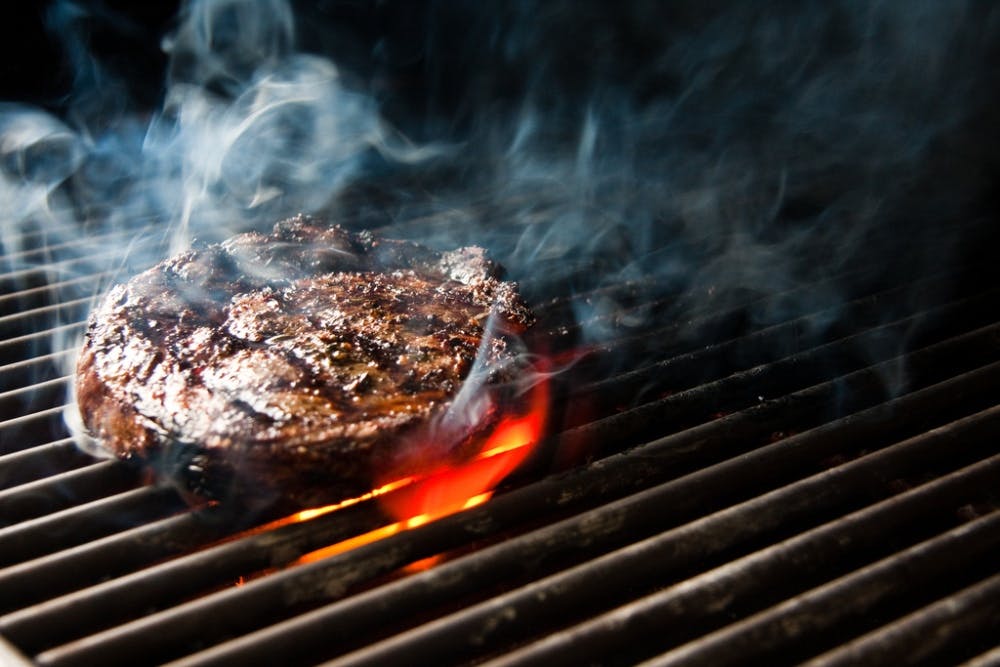
- Post processing. If shooting with a smart phone, there are lots of options to “tweaking” a photograph. While it can be easy to “over process” a picture with unneeded filters, adjusting levels of saturation, clarity, and intensity can really help make a photo “pop.” Play around with some of the cameras apps and find out what works for you. Shooting with a DSLR? The same thing goes.
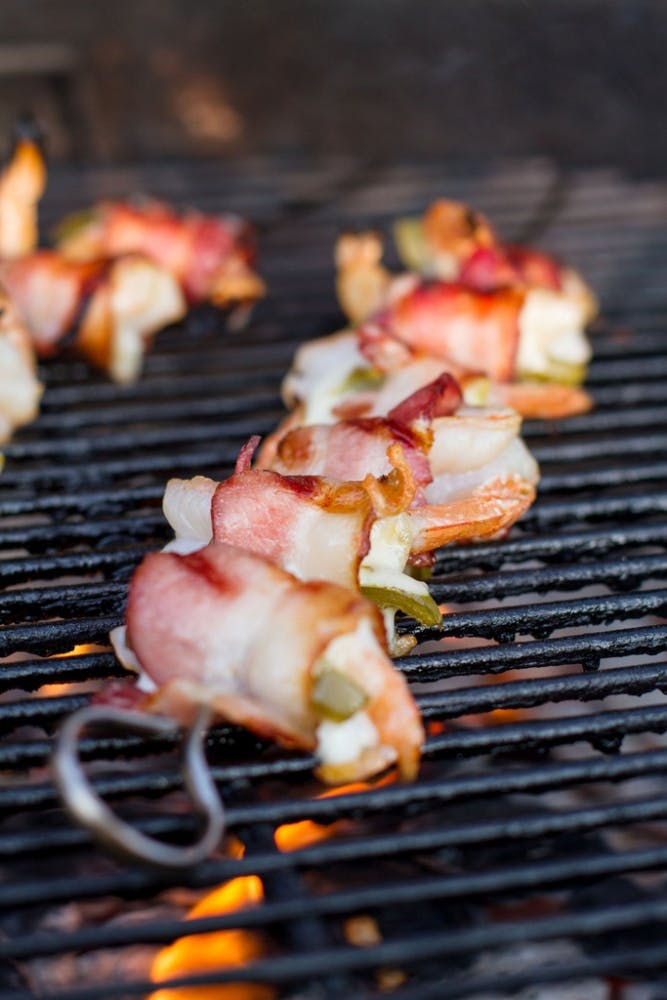
Next time your grills are fired up, don’t just grab a pair of tongs, grab your camera. I’m looking forward to seeing your grillography!
Check out more of my grillography shots here.
