Buy now, pay later. Rates as low as 0% APR financing with Affirm. Subject to eligibility. Terms Apply.
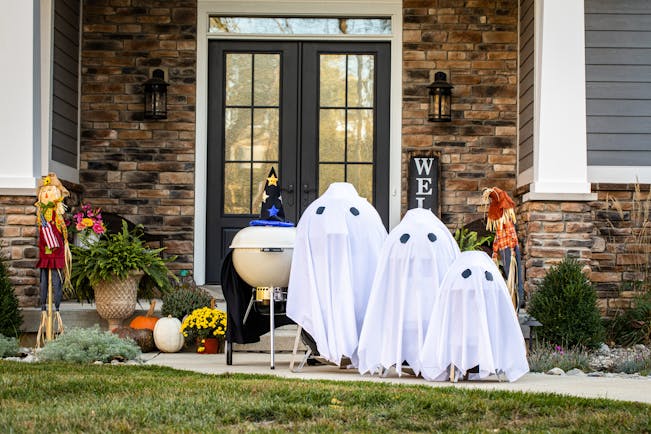
Halloween Recipes for your Grill
Grilling ghoulish Halloween food isn’t exactly a stretch for me. Yes, chicken wing inspired bat wings, hot dog fingers, scary eye meatballs, and a BBQ rib cage might seem a little unorthodox, but when I’ve also grilled a couple of beer can chickens holding a limbo pole, the only difference is one of these meals was happy. I mean, come on, who doesn’t have fun with limbo?
Giving food a human characteristic is fun, especially around Halloween. There are so many great ideas for making dinner part meal and part entertainment. These are some of my absolute favorites. Just be sure to bring your imagination and, more importantly, your appetite. Whether you cook on a gas, charcoal or wood pellet grill, follow these recipe inspiration and the outcome will be scary good.
Eye Love You

It’s not uncommon to see faces in random patterns, like clouds or even a bowl of soup noodles. However, around Halloween, there is no time to take a chance on noticing a pattern, even if we have to force a face in the most unlikely of places: a grilled meatball sandwich.
It doesn’t hurt I love meatball subs, as they are one of my favorite last-minute go-to meals. Whether made from scratch or bought fresh from the grocery, they are smokey bombs of beefy joy. Meatballs nestled in a grilled bun on a heaping layer of marinara sauce also make great...eyes. I think you see where this is going. Yes, pun intended.
This scary treat needs more than brown orbs for eyes, which brings us to the olives. Garlic stuffed green olives provide both the iris and the pupil. Just be sure to slice them thinly from the open end with the garlic. For added effect, a halved slice of black olive is the perfect eyebrow. Shredded melted mozzarella tops things off with the look of crazy hair.
Your meatball sub might have taken a scary turn, but I guarantee it’s still just as delicious.
Scary Eyes Meatball Sub Recipe
Scary Eyes Meatball Sub
Serves: 3
Prep Time: 15 minutes
Grilling Time: 10 minutes
Ingredients:
12 Meatballs, raw
3 sub rolls
1 cup marinara sauce
½ cup shredded mozzarella cheese
12 green olives stuffed with garlic
6 black olives, sliced
Instructions:
- Prepare the grill for direct grilling over medium heat (350º to 450º F).
- Slice each olive approximately ¼-inch from the opening so the garlic stuffing shows. Slice each black olive in half.
- Brush the cooking grates clean.
- Grill the meatballs over direct medium heat, turning several times, for approximately 8 to 10 minutes.
- Split the sub rolls and grill cut side down over direct medium heat until marked, approximately 30 seconds.
- Equally top the bottom of each roll with marinara sauce, 4 meatballs, and cheese.
- Place a green olive and black olive slice on each meatball so they resemble eyes and eyebrows.
- Serve warm.
Bone Appetite

At least to me, a skeleton is one of the most recognizable images of Halloween next to the pumpkin. From a very early age, probably about the time I equated Halloween with candy, I remember seeing skeletons of all shapes sizes.
This Halloween, I’m keeping the memory alive and smoking my own spooky skeleton with racks of baby back ribs. To make this meal come alive, or dead, as the case may be, here are a few tips to scare your guests.
As much as I love the meat of a perfectly cooked rack of ribs, our skeleton works better if we see the bones. Cut the ribs individually and place them back in order on a tray, but be sure to place them meat side down to further the effect. The skeletons of my youth never had a heart, but today, mine does. A grilled red pepper is the perfect blood pumping stand-in with the remnants of charred skin, make our “heart” look delicious and scary. For final flare, add additional BBQ sauce down the red pepper giving the impression of its last beats before the afterlife.
This is a meal not to be forgotten...
Rib Cage Recipe
Rib Cage
Serves: 4
Prep time: 20 minutes
Grilling Time: 4 hours
Ingredients:
Red bell pepper
2 racks baby back ribs
⅓ cup BBQ rub
1 cup apple juice
2 cups BBQ sauce
Special Equipment
3 fist-sized hickory wood chunks (for a charcoal grill) or 6 large handfuls hickory wood chips (for a gas grill)
Spray bottle
Instructions:
- Prepare the grill for direct high heat (450º to 550º F).
- Grill the bell pepper over direct medium heat, with the lid closed as much as possible, until blackened and blistered all over, 10 to 12 minutes, turning occasionally. Place the pepper in a bowl and cover with plastic wrap to trap the steam. Let stand for about 10 minutes. Remove and discard the charred skin, stem, and seeds, and set aside.
- Using a dull knife, slide the tip under the membrane covering the back of each rack of ribs. Lift and loosen the membrane until you can pry it up, then grab a corner of it with a paper towel and pull it off. Season the racks evenly all over with the rub and allow them to stand at room temperature for 30 minutes before grilling.
- Prepare the grill for indirect medium-low heat (250º to 350º F).
- Brush the cooking grates clean.
- Drain and add one handful of the wood chips to the smoker box of a gas grill, following manufacturer’s instructions, and close the lid. When the wood begins to smoke, place the racks bone side down over indirect medium-low heat, close the lid, and cook until the meat has shrunk back from the bones at least ½ inch in several places and the meat tears easily when you lift each rack, 3 to 4 hours. Keep the temperature of the grill between 250° to 350°F. Add one handful of the remaining wood chips to the smoker box every 20 minutes before the old chips burn out.
- During the last 2 hours of cooking time, spritz the ribs with apple juice. During the last 30 minutes of cooking time, brush the ribs with BBQ sauce. The ribs are done when the meat has shrunk back from most of the bones by 1/4 inch or more. When you lift a rack by picking up one end with tongs, the rack should bend in the middle, and the meat should tear easily.
- Place the rack on a cutting board and allow to rest 10 minutes.
- Cut the racks into individual ribs. On a large sheet pan or tray, line up the ribs, meat side down, in the same order they were cut, to resemble a rib cage.
- Place the red pepper, slightly under the ribs, in the middle of the pan to resemble a heart. Drip BBQ sauce from the pepper to the bottom of the band to resemble spooky blood.
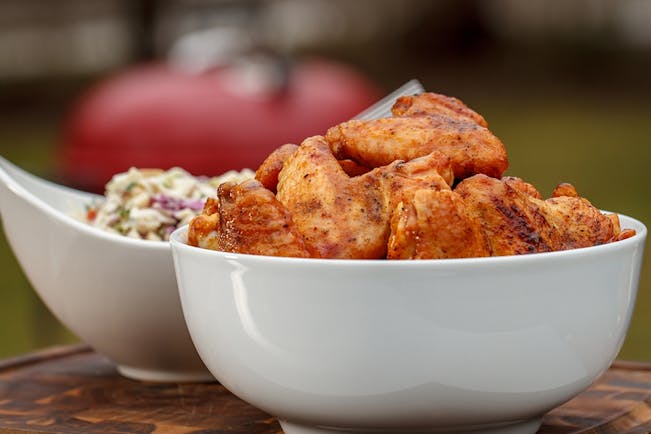
Batty About You
I would like to say the idea for these batwing chicken wings came from a Halloween inspired event on the grill deck, but no. They came from perusing the Internet. If you are looking for a messy and spooky take on chicken wings, this is it. As someone who typically breaks down a wing to the flat and drummette, the prep here is easier, as it leaves the wing whole (even the tip) to resemble the wings of a bat.
The hardest part of this recipe? Finding a left AND right chicken wing. Normally, I’m not one to worry about left and right chicken wing parity, I just want to smoke wings. They can all be the same. I don’t care. I’m just eating. However, in order to pull off the bat look, it’s a must. For the ultimate wing display, reach out to your local butcher to ensure all of your wings have an equal.
Bat Wings Recipe
Bat Wings
Serves: 2
Prep time: 10 minutes
Grilling Time: 20 minutes
Ingredients:
12 chicken wings about 3 pounds
Sauce
2 cups BBQ sauce
Black food coloring
Extra-virgin olive oil
½ teaspoon kosher salt
¼ teaspoon freshly ground black pepper
Instructions:
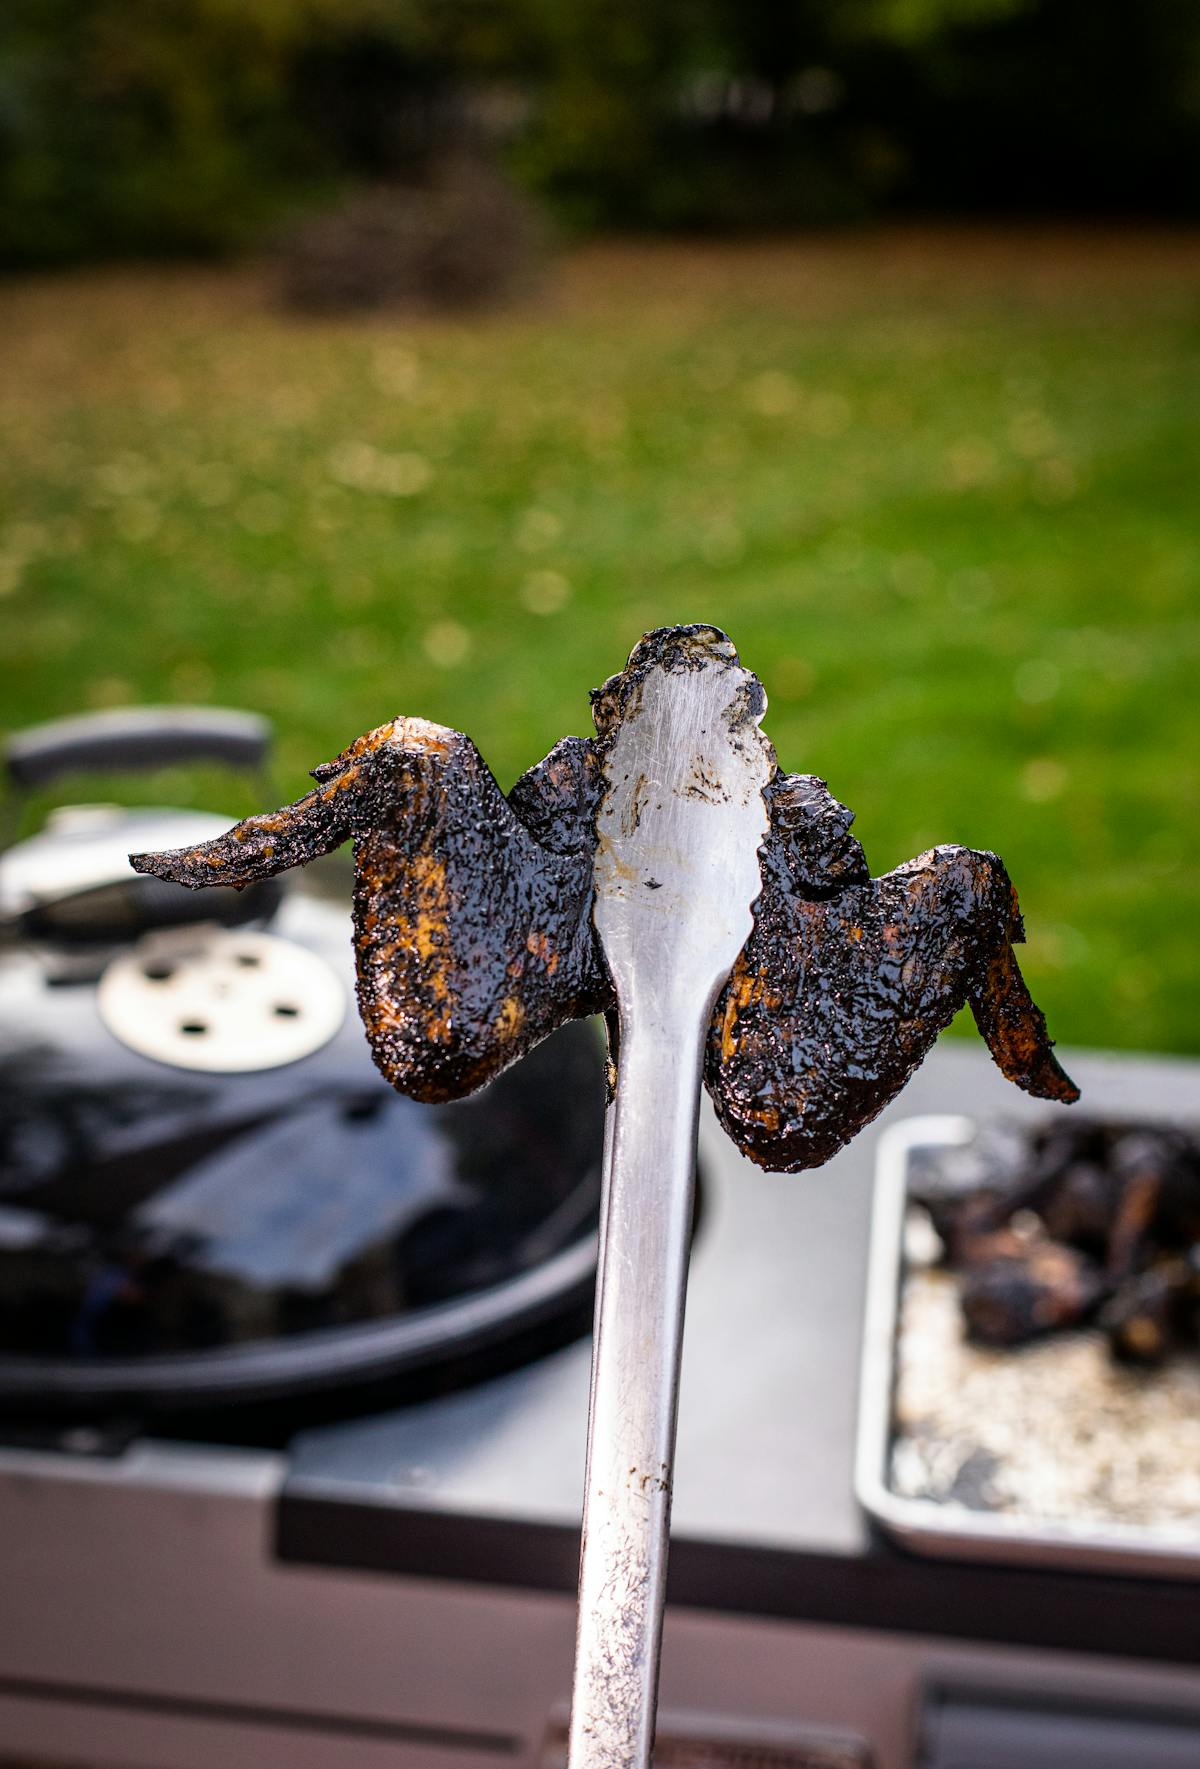
- In a small bowl, combine the bbq sauce and food coloring, a few drops at a time, until the sauce turns black.
- Brush the chicken wings with olive oil and season with salt and pepper.
- Prepare the grill for 2-zone grilling over medium heat (350º to 450º F).
- Brush the cooking grates clean.
- Grill the chicken wings over direct medium heat, with the lid closed as much as possible, for 4 minutes flipping once.
- Brush the wings with the BBQ sauce and grill over indirect medium heat for 12 to 15 minutes more, or until the juices run clear and the meat is no longer pink at the bone.
- Remove the wings, brush with more BBQ sauce, and serve warm.
Creepin' It Real

It’s not often I refer to my hand for grilling inspiration, but it’s Halloween. Here we are. As much as I love a grilled hot dog piled high with condiments, these simple fingers taste just as good. If anything, they are a conversation piece ripe for commentary. I might have joked about using my hand for inspiration, but more than once, I lined a finger up with a hot dog just to make sure I was making the knuckle slices just right. I also, not jokingly, counted all of my fingers after finishing the prep. While these hot dog fingers are a little unsettling, they are perfect for entertaining around All Hallows’ Eve. It’s not every day you can provide dinner and a fright!
Hot Dog Fingers Recipe
Hot Dog Fingers
Serves: 4
Prep Time: 30 minutes
Grilling Time: 5 minutes
Ingredients:
8 hot dogs
8 hot dog buns
1 shallot
Ketchup
Instructions:
- Prepare the grill for direct medium heat (350º to 450º F).
- Cut the shallot into quarters and remove the skin.
- With a sharp paring knife, cut out a “fingernail” in each hot dog. Make a small downward cut ¾ inch from the end of the hotdog. Then, make a parallel slice down the tip of the hot dog the same depth as the initial cut. When the cuts meet, remove the piece of hot dog. To mimic the knuckles of the finger, make two shallow v-slices approximately 1 ½ inch from the cut side of the hot dog and then three shallow v-slices approximately 3 inches from the cut side of the hot dog.
- Brush the cooking grates clean.
- Grill the hot dogs over direct medium heat until marked and warmed through, approximately 3 to 4 minutes.
- Grill the hot dog buns cut side down over direct medium heat until marked, approximately 30 seconds.
- Trim the shallot quarters until they match the size of the fingerprint indentations on the hot dog.
- For spooky effect, fill the hot dog buns with a large amount of ketchup. Place the hot dogs in the buns. Serve on a platter, adding even more ketchup around the buns.
- Serve warm.
- Count your own fingers.
Spooktacular Grilling Tools
Every grill master likes to talk about the accessories that make for the perfect spooky halloween grilling experience. When it comes to halloween themed foods on the grill, here are a few must-haves that will save you a little time so you can truly enjoy the season!
· Weber Knives– for the perfect cut, every time
· Weber Connect – make sure all of your food is totally cooked and turn any grill into a smart grill with our step-by-step grilling assistant
· Premium Tool Set – everyday grilling essentials for flipping any type of food
Grilling Inspiration
Spooky Good Recipes

Burning Questions
Ribs 101