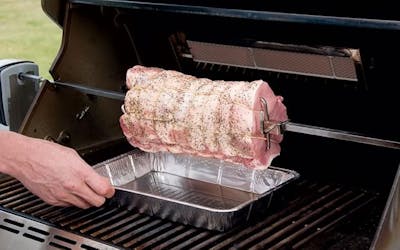
Top 10 Barbecuing Basics
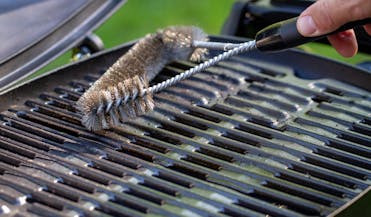
Step 1:
TIP 1: Don’t start with a cold, dirty grill.
A barbecue requires at least 15 minutes in order for the grill to become hot enough to sear food properly. Preheat the barbecue every time and always give the hot grill a thorough once-over with a stiff bristle brush before adding food. A hot, clean grill will do a better job of browning food and will reduce the chances of sticking.
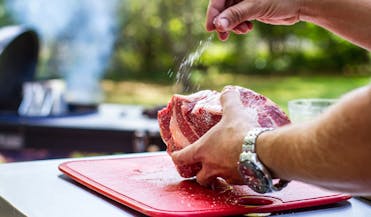
Step 2:
TIP 2: Season like you mean it.
Salt is more important to great taste than any other ingredient. First, oil the food (not the cooking grill), then sprinkle generously with salt, pepper and/or other seasonings from edge to edge and on all sides. The oil will help the seasonings to adhere to the surface of the food and prevent it from sticking to the grill.
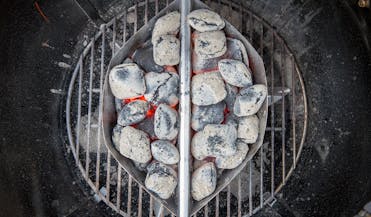
Step 3:
TIP 3: Don’t have just one zone.
More heat zones mean more flexibility for times when something is cooking too quickly, your food is flaring up or you are barbecuing two very different foods at the same time. At the very least, give yourself the advantages of two zones, one for direct heat and one for indirect heat.
Step 4:
TIP 4: Match the heat to the meat.
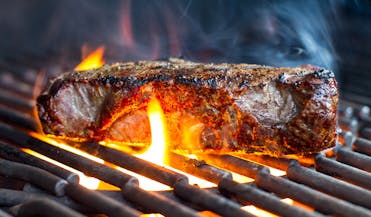
Not everything should be cooked at the same temperature. Generally speaking, thin and tender foods do better over high temperatures, while thicker and tougher items often do better over less intense temperatures and sometimes indirect heat.
Step 5:
TIP 5: Don’t crowd the barbecue.
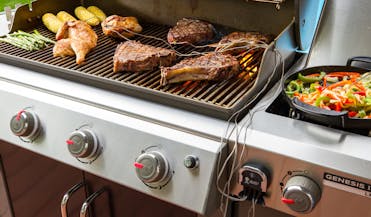
Packing too much food onto the cooking grill restricts your ability to be nimble and responsive in your cooking. You should leave at least one-quarter of the grill clear, with plenty of space around each item of food; this ensures that you can easily use your tongs to move the food from one area of the barbecue to another.
Step 6:
TIP 6: Keep a lid on your barbecue.
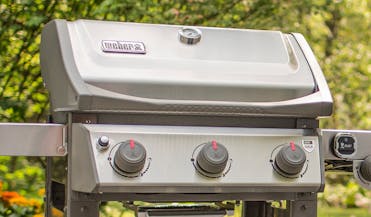
Keeping the barbecue lid closed as much as possible is important for maintaining even temperatures, controlling flare-ups and capturing the fragrant smoke that barbecuing generates.
Step 7:
TIP 7: Don’t fiddle too much.
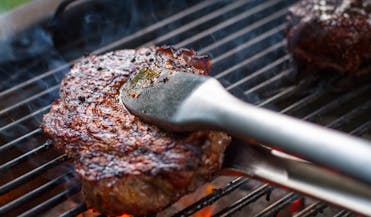
Never poke and prod food more than is necessary or you’ll lose flavour and colour. You might also tear the surface of the food if you try to turn it too often. Turn most food just once or twice. When in doubt, wait it out—assuming that flare-ups are not an issue.
Step 8:
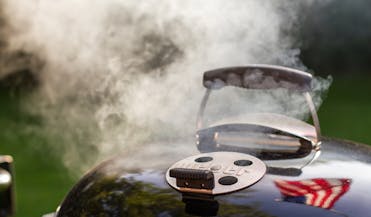
TIP 8: Respond to smoke signals.
The quality of smoke coming from your barbecue could make or break your meal. If it’s black and dense, something’s wrong (and maybe sooty). The food might be on fire or the fire itself might not be getting enough air. What you’d like to see are wispy streams of clean, whitish smoke. Be ready to move your food, open the air vents or add more fuel at the appropriate times.
Step 9:
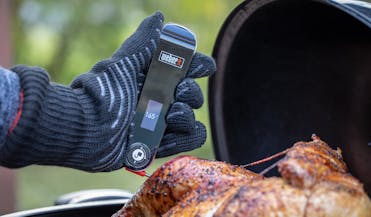
TIP 9: Don’t just guess.
Knowing when your food is done shouldn’t be a guessing game. Sometimes colour can tell you a lot. Sometimes texture provides clues. But with most meats, poultry and fish, a thermometer is essential. Invest in a reliable one. It’ll make you successful time after time.
Step 10:
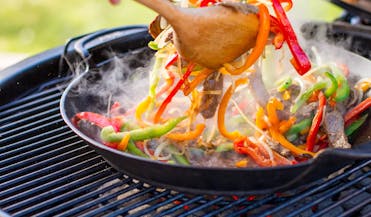
TIP 10: Imagine other things that you can barbecue.
There was a time when barbecuing meant one thing: meat (and only meat) charred over open flames. Today, barbecue enthusiasts experiment with a much wider range of ingredients. The methods vary, too. Barbecuing now also means using outdoor fires to roast, smoke, bake, simmer and stir-fry, among other techniques.
