Tips For Mastering the Rotisserie
How to Rotisserie Like a Pro
A whole chicken is a canvas for a myriad of different flavors and grilling techniques. It’s why one is always on my weekly “grill list.” Perfect for dinner and even better for leftovers, like grilled chicken salad.
Since grilled chickens are a regular occurrence here, I like looking for new ways to add or change the flavor. Enter the brine. Through osmosis, the chicken absorbs the salt water brine over time. The result is a plump, moist bird ready for the grill.
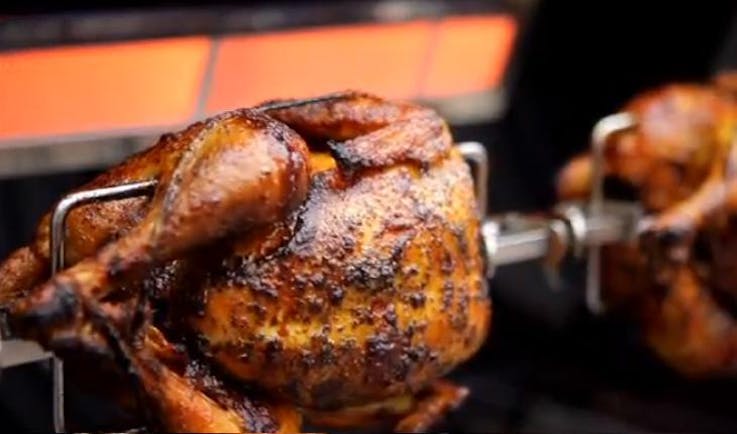
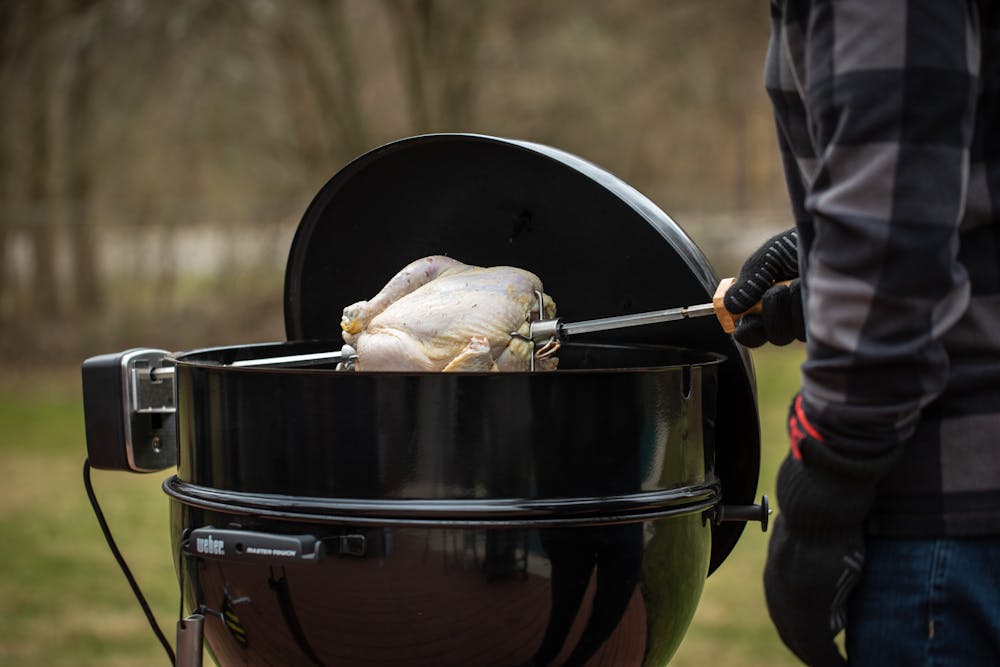
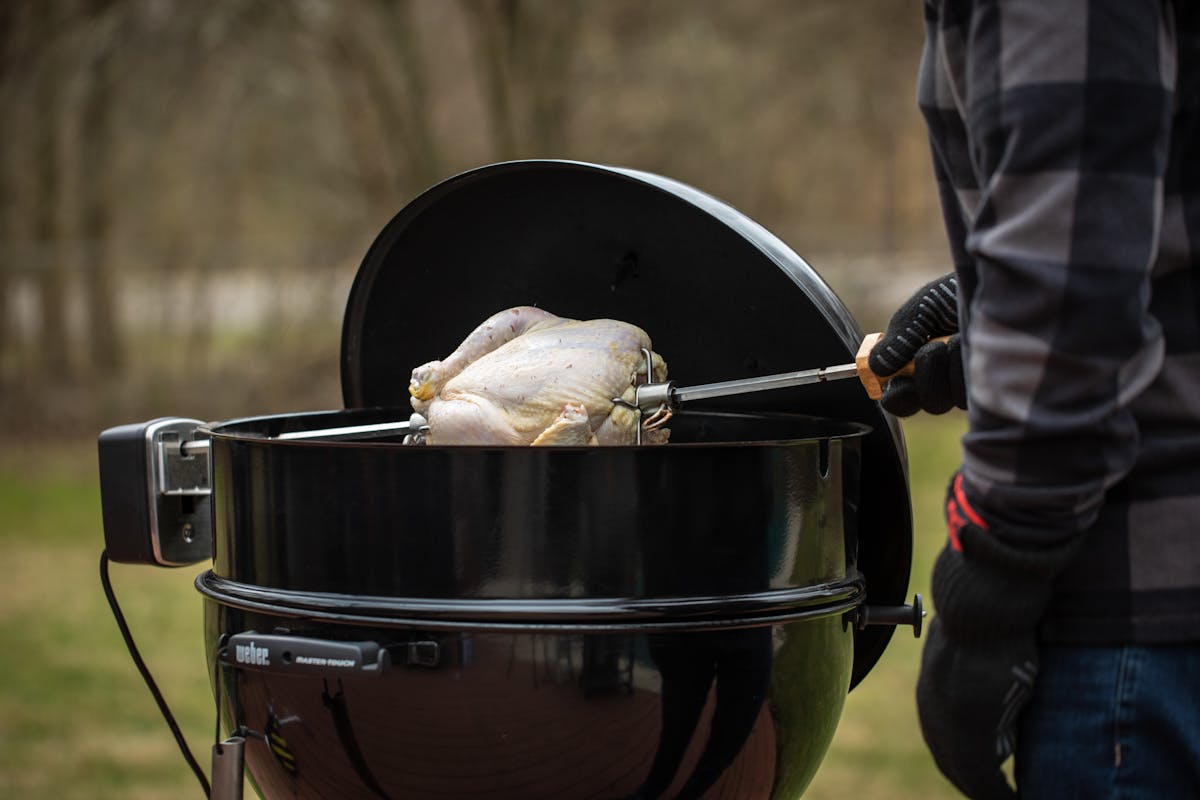
While a brine is an added boost, why stop there? My favorite chickens are spun on the rotisserie. The gentle application of heat and the self-basting rotation of the spit delivers an unforgettable chicken. When I carve into a rotisserie chicken, I find the most tender and delicious meat possible. It is the best.
Brining can take anywhere from 6 to 12 hours, so it takes some forethought before preparing and yes, the rotisserie adds a few more steps, too. However, the one-two punch of brining and the rotisserie are well worth the time and to prove my point, here’s an incredible recipe by Jamie Purviance featuring both.
Recipe from Weber's Time to Grill™ by Jamie Purviance
Rosemary-Brined Rotisserie Chicken
- People
- Serves 4
- Prep Time
- 20 min.
- Brining Time
- 6 to 12 h
- Grilling Time
- 1:15 to 1:30 h
the Ingredients
Brine
- 3 liters water
- 105 grams kosher salt
- 100 granulated sugar
- dried rosemary
- caraway seed
- granulated garlic
- freshly ground black pepper
- whole chicken, about 1.8 kilograms, giblets, wing tips, and any excess fat removed
Instructions
- 01 In a large pot whisk the brine ingredients well to dissolve the sugar and salt.
- 02 Submerge the chicken in the brine, breast side down, and refrigerate for 6 to 12 hours.
- 03 Prepare the grill for indirect cooking over medium heat (180° to 230°C).
- 04Remove the chicken from the pot and discard the brine. Pat the chicken dry with paper towels. Truss the chicken with butcher’s twine.
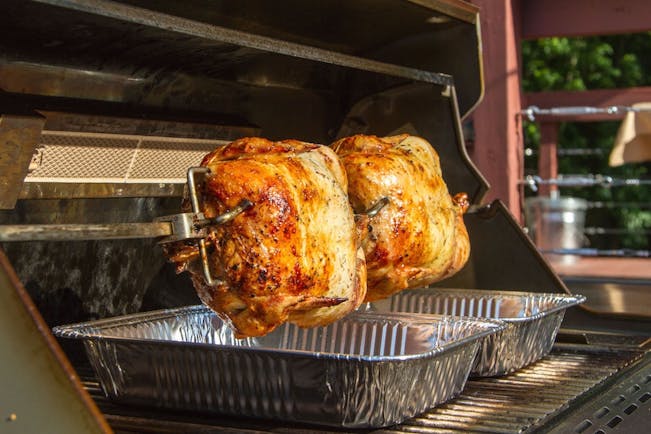
- 05 Following the grill’s instructions, secure the chicken in the middle of a rotisserie spit, put the spit in place, and turn on the motor. Place a large disposable foil pan underneath the chicken to catch the drippings. Cook the chicken over indirect medium heat, with the lid closed, for 1 hour.
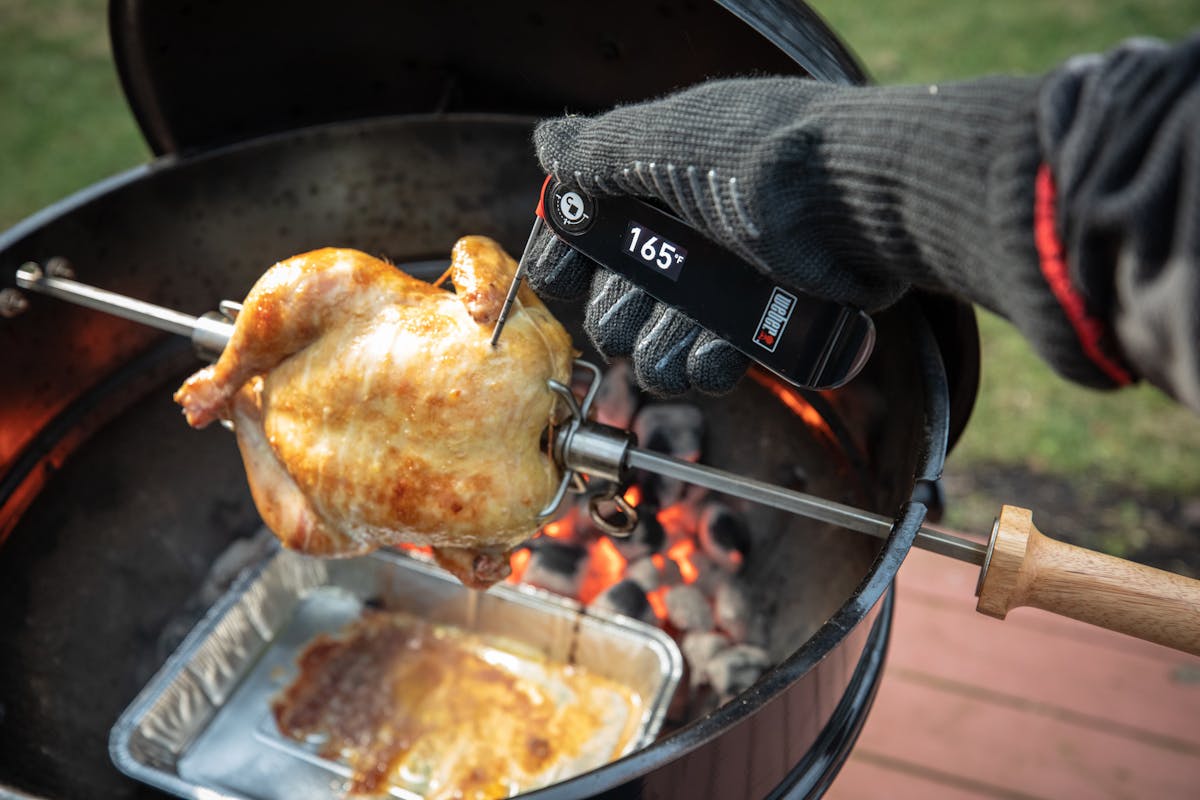
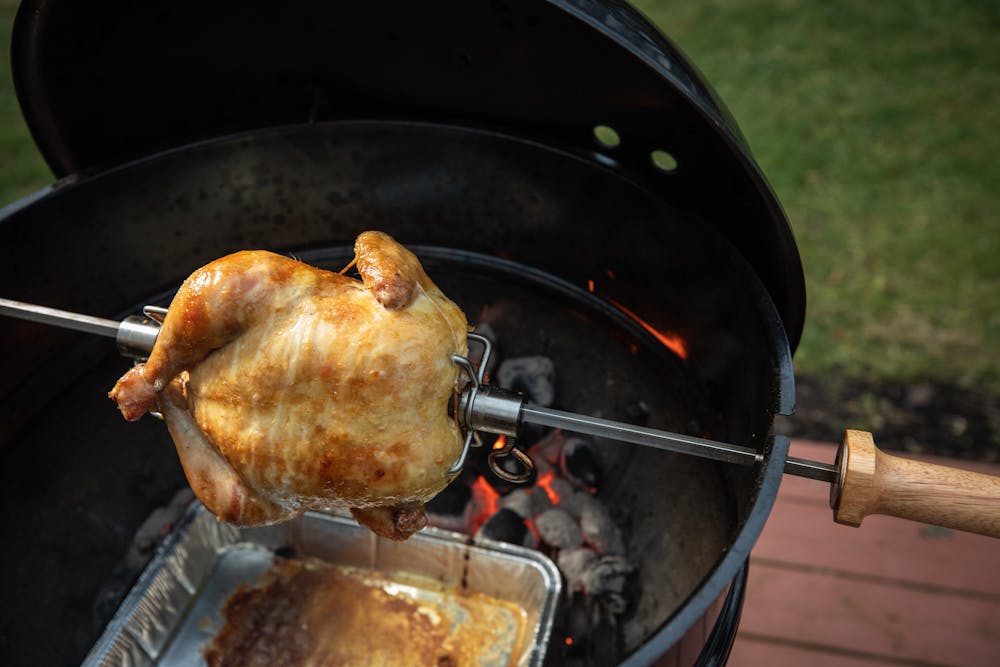
- 06If your grill has an infrared burner at the back of the grill, after 1 hour of cooking, light that burner and set it to medium heat (leaving the regular outside burners on medium and the middle burners turned off). If your grill does not have an infrared burner, continue to cook the chicken as you were doing. Either way, cook the chicken until the surface is deep golden brown and the internal temperature reaches 74°C in the thickest part of the thigh (not touching the bone). This should take 10 to 20 minutes with the infrared burner and 20 to 30 minutes without the infrared burner. Watch carefully that the chicken skin does not burn.
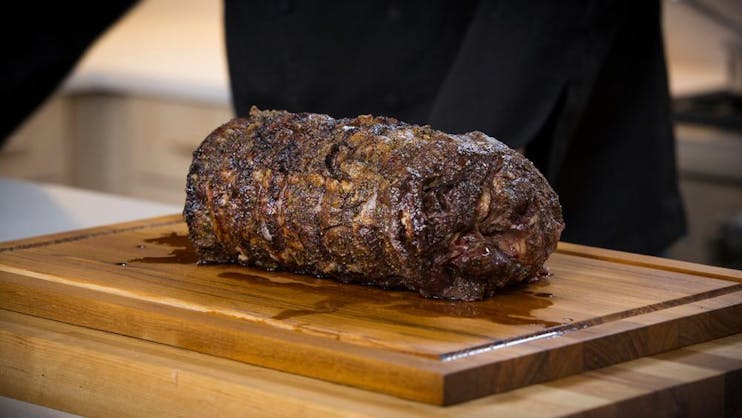
- 07When the chicken is fully cooked, turn off the rotisserie motor and remove the spit from the grill. Tilt the chicken upright over the foil pan so that the liquid that has accumulated in the chicken’s cavity pours into the pan. Let rest for 10 to 15 minutes (the internal temperature will rise a few degrees during this time). Transfer the chicken from the spit to a cutting board. Cut into serving pieces. Serve warm.
Your Must Have Tools


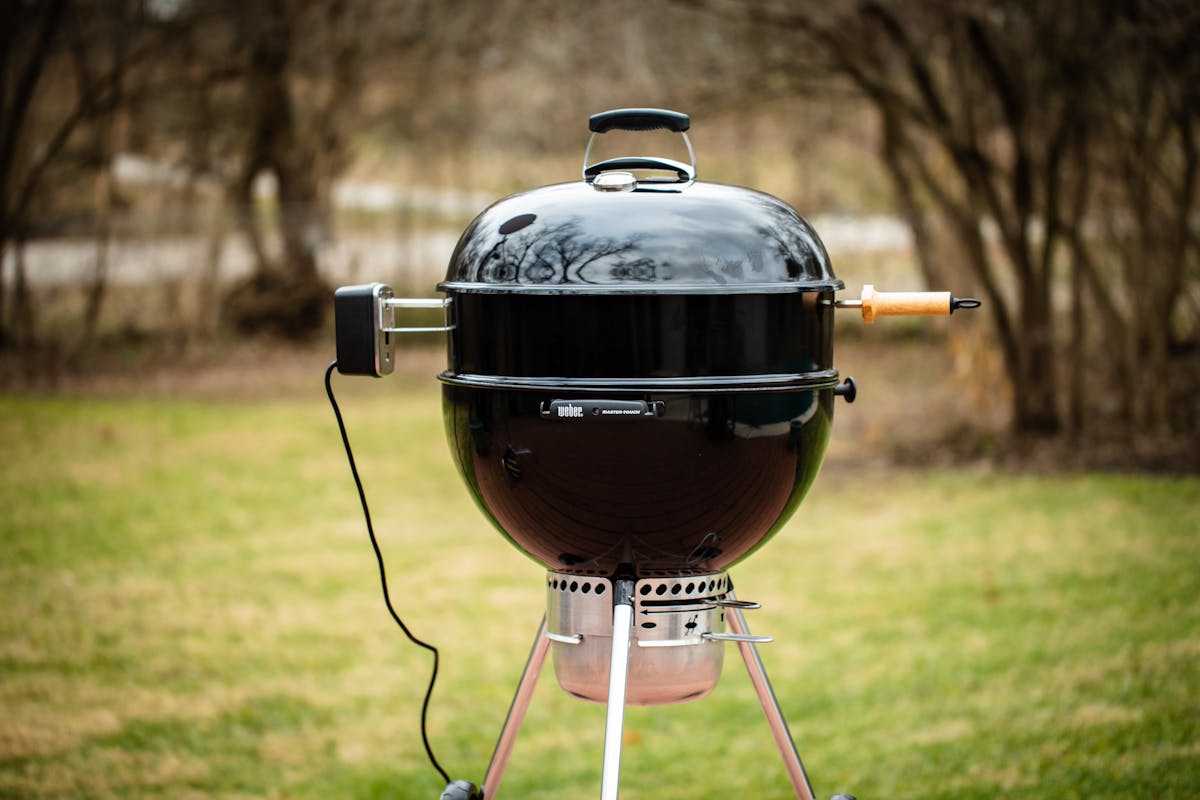
1. Rotisserie
This is a must have and you will find endless foods to rotisserie.
2. Grilling Gloves
These gloves are great for giving you maximum grip on food or accessories on the grill. Bonus, they keep your hands warm too!
3. Drip Pans
Use these pans under your chicken to catch drippings and keep your grill clean!

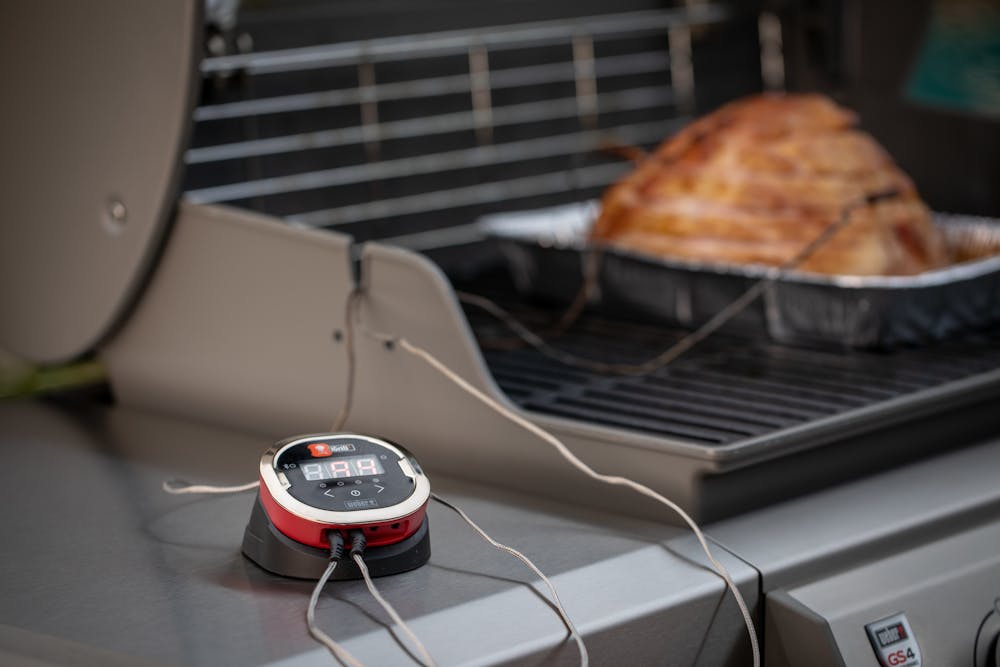
4. Snapcheck Thermometer
Chicken is one of those foods that you want to make sure is cooked all the way. We love the Snapcheck thermometer for giving accurate and fast read outs of the internal temperature of your chicken.