Weber Kettle Christmas Ham - The Rundown
Article written by: Laura Romeo- Weber Grill Master
Cooking the family’s Christmas ham has quickly become a tradition and a responsibility of mine in the days leading up to Christmas. It’s one of my most rewarding cooks of the year.
It’s a loving process, tending to a huge roast- scoring, preparing, smoking, decorating, and glazing it. It’s a joy seeing everyone tuck in on Christmas Day, and there's the added happiness of guilt-free ham eating every day for the days or weeks following Christmas.
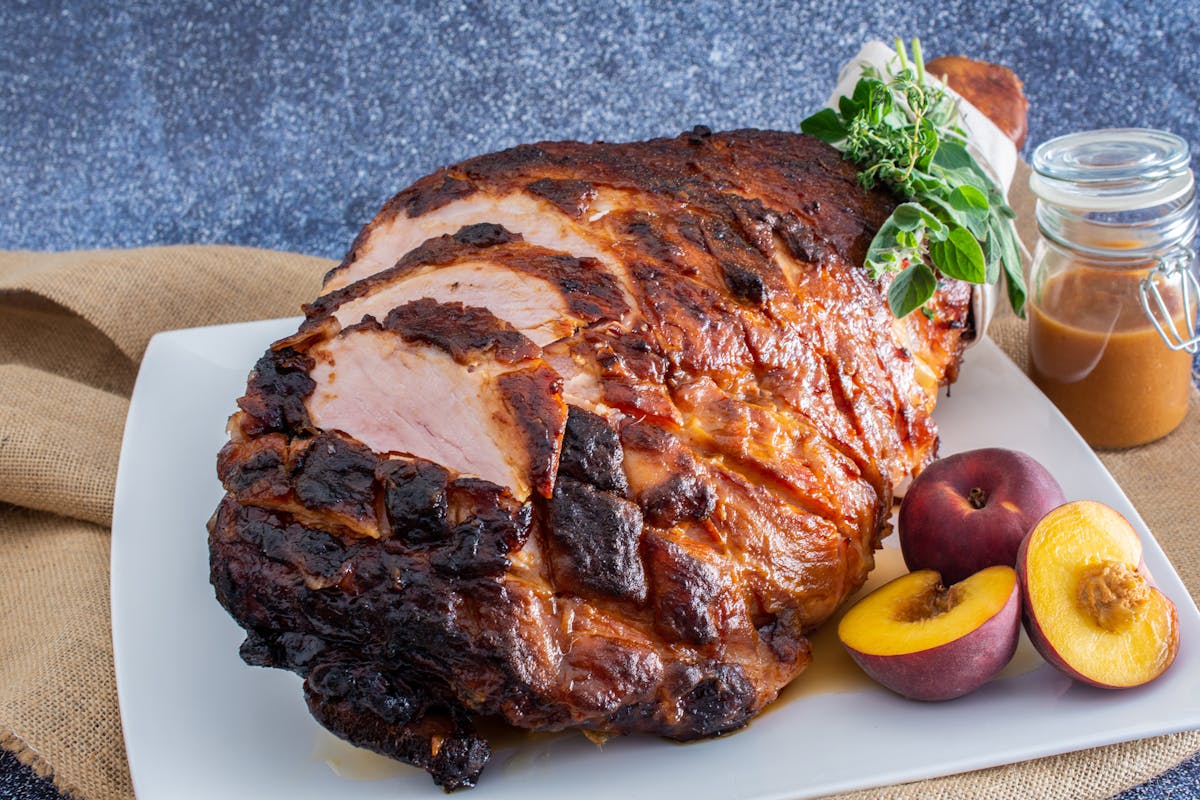
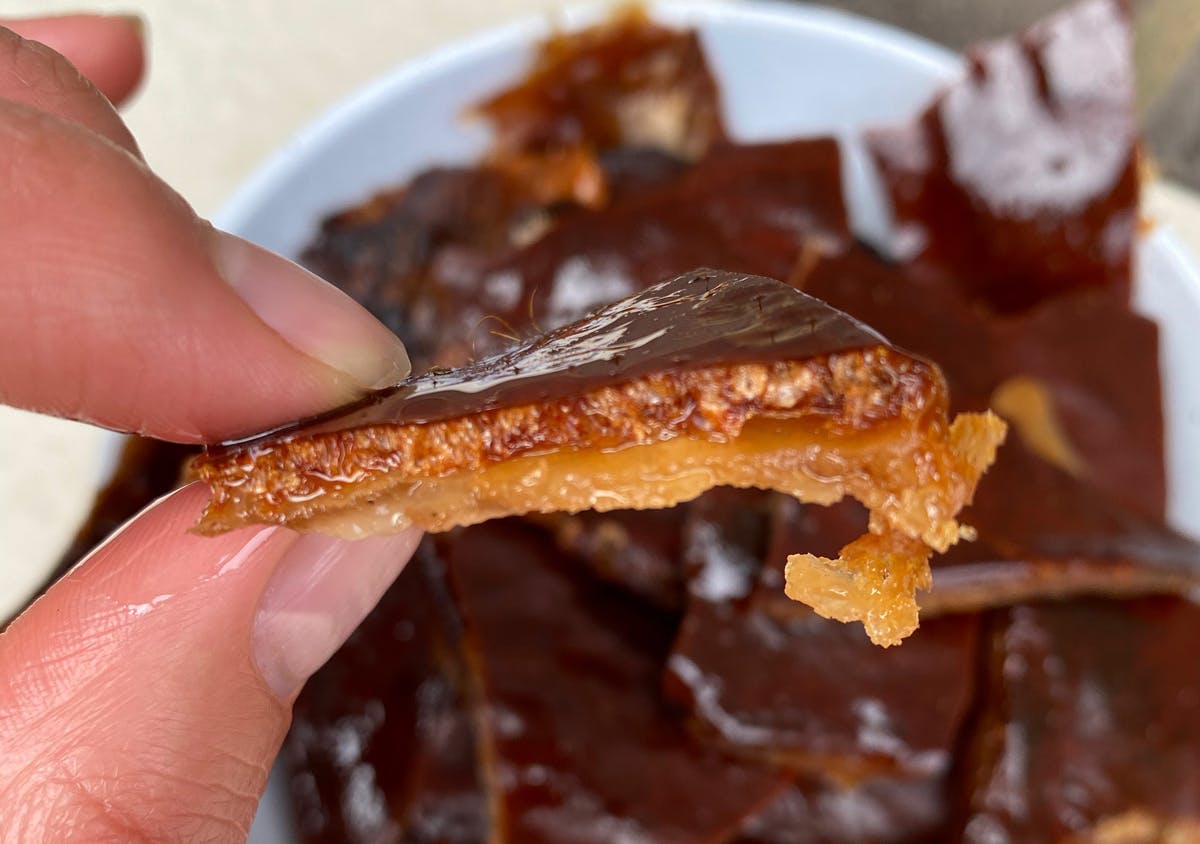
What’s even better is that the cooking process gives you a snack along the way- the crackling that you peel off the ham before smoking it; crunchy, sweet, salty (my mouth is watering just thinking about it). Plus, I love trying a new ham glaze each year. I’ve included some of my favourites below.
If you’ve ever had a hot, smoked, freshly cooked pickled leg of pork (ham) with a sweet and sticky glaze, you’ll know how magical it is.

Cooking a Christmas ham on a Weber Kettle is the ultimate, it’s a classic way to get the best results.
Here’s our method for cooking your Chrissy ham on a Weber Kettle.
TOOLS YOU'LL NEED
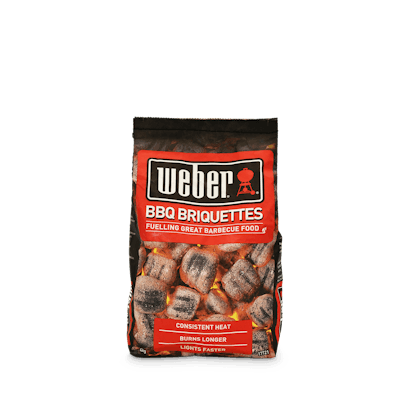
- Weber Barbecue Briquettes
- Fire Lighters
- Lighter
- Disposable Drip Pans
- Grill Brush
- 2- 3 smoking wood chunks
- Sharp knife
- Tongs
- Basting Brush
- Meat Thermometer (instant, connect or iGrill)
- Ham Bag

INGREDIENTS
1 x 6 kg to 10 kg leg of pickled pork (green/raw ham)
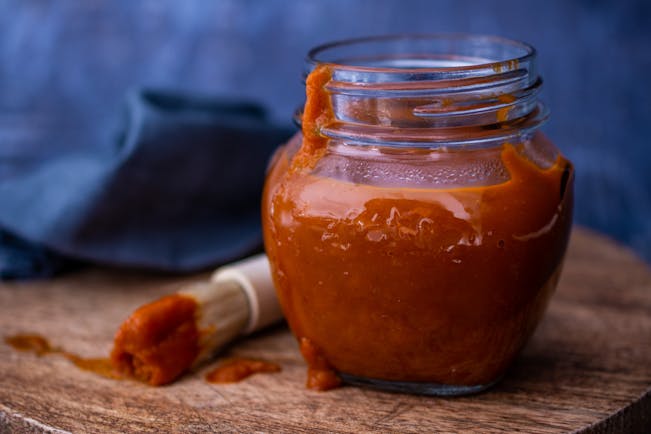
1 1/2 cup ham glaze, warmed (see recipe ideas below)
METHOD
Prepare Kettle
- Set up your Weber Kettle for indirect cooking with barbecue briquettes in each char basket. Place fire lighters in the centre of the charcoal grate (in the Vs, if you have a charcoal V-grate). Place your char baskets over the fire lighters and leave to light for 25 to 30 minutes.
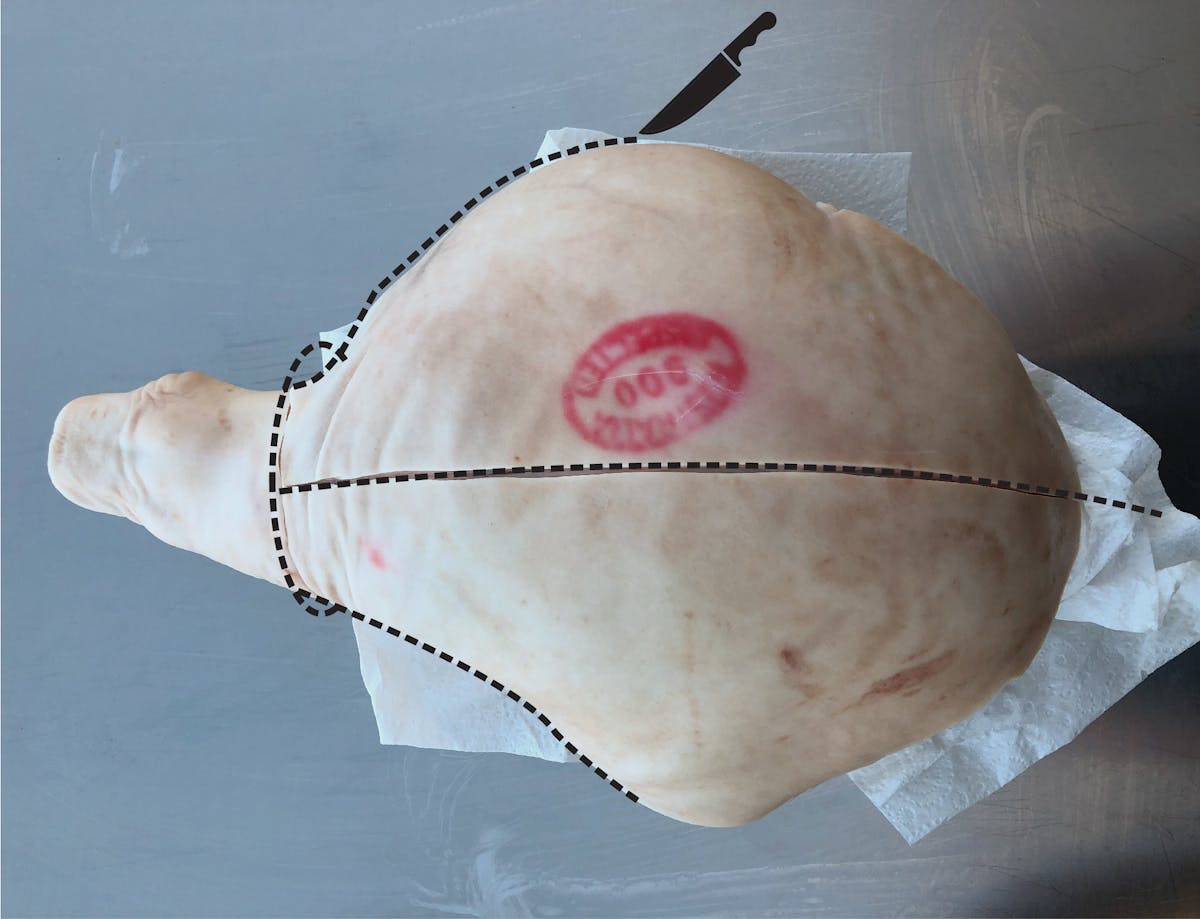
Prepare Ham
- With a sharp knife, cut the rind around the sides of the pork, around the knuckle, and down the centre, ensuring you cut through the rind to the fat but not into the lesh. This will help later in the cook when removing the skin once it has crackled.
Set Up Kettle
- Once the briquettes are mostly lit, separate the char baskets to the outer rim of the charcoal grate and place a large disposable drip pan between them. (One large and one small drip pan together fit perfectly and cover the grill space between the baskets.)
- Set the cooking grill in place. Place the lid on the kettle, ensuring both air vents are open. Preheat for 5 minutes.
Pork On
- Place the pork in the centre of the cooking grill. If the edges of the pork are hanging over the direct heat zone (above the fire), shield the edges with aluminium foil. Roast the pork for 2 to 2 ½ hours to blister the skin.
Remove Skin
- After 2 to 2 ½ hours, when the skin has hardened and blistered, use tongs to carefully remove the skin from the pork. Score the fat in a pattern, being careful not to cut into the flesh. The skin can be eaten or discarded.
Smoke the Ham
- Add your choice of smoking wood chunks to the briquettes. Close the lid and leave the ham to smoke for 30 minutes to 1 hour before glazing (or until the internal temperature reaches 55°C).
Glaze
- Apply a layer of ham glaze and continue cooking for another 30 minutes to 1 hour (or until the internal temperature of the ham reaches 63°C), glazing the ham every 15 minutes. Let the ham rest for at least 30 minutes before carving. The internal temperature will continue to rise to 68°C, which is the safe doneness temperature for ham.
HOW TO USE A HAM BAG
- A whole ham will keep better than slices, so only slice what you need.
- Soak the bag in 4 cups of water mixed with 2 tablespoons of white vinegar.
- Wring out excess liquid and place the ham inside the bag.
- Store in the fridge and re-soak the bag in vinegar solution every 3 days.
- It can be stored for up to 3 weeks.
Our favourite ham glazes: