The Homemade Burger: Grinding Your Own Meat
Yes, the convenience of buying ground meat is uh, convenient. However, when I grill hamburgers, meatballs, chili, or meatloaf, I buy meat at the grocery, but I grind it, myself, at home.
There are two reasons I am a “home grinder” and they are directly related to each other. First, when I hear of an E. coli outbreak on the news, the last thing I want to do is run to the refrigerator and pitch meat, or worse yet, sift through the trash and realize we ate something contaminated.
The CDC estimates approximately 265,000 E. coli infections a year. I would prefer to not be one of them.
Second, and just as important, I have control over the meat source and process. When I see 2 pounds of ground beef on a white tray inside a display case at my local grocer, I have no idea where the meat came from. Pink slime anyone? When I buy 2 pounds of ribeye, I know exactly what my ground meat is: awesome.
Grinding meat at home is not difficult. On the easy/manual labor side, a hand crank meat grinder can be picked up for under $30.
As a side note, the raging biceps after thirty minutes of use are free. While you could spend several hundred dollars on a professional grinder, there is another option, which works really well on an appliance you probably already have, a stand mixer.
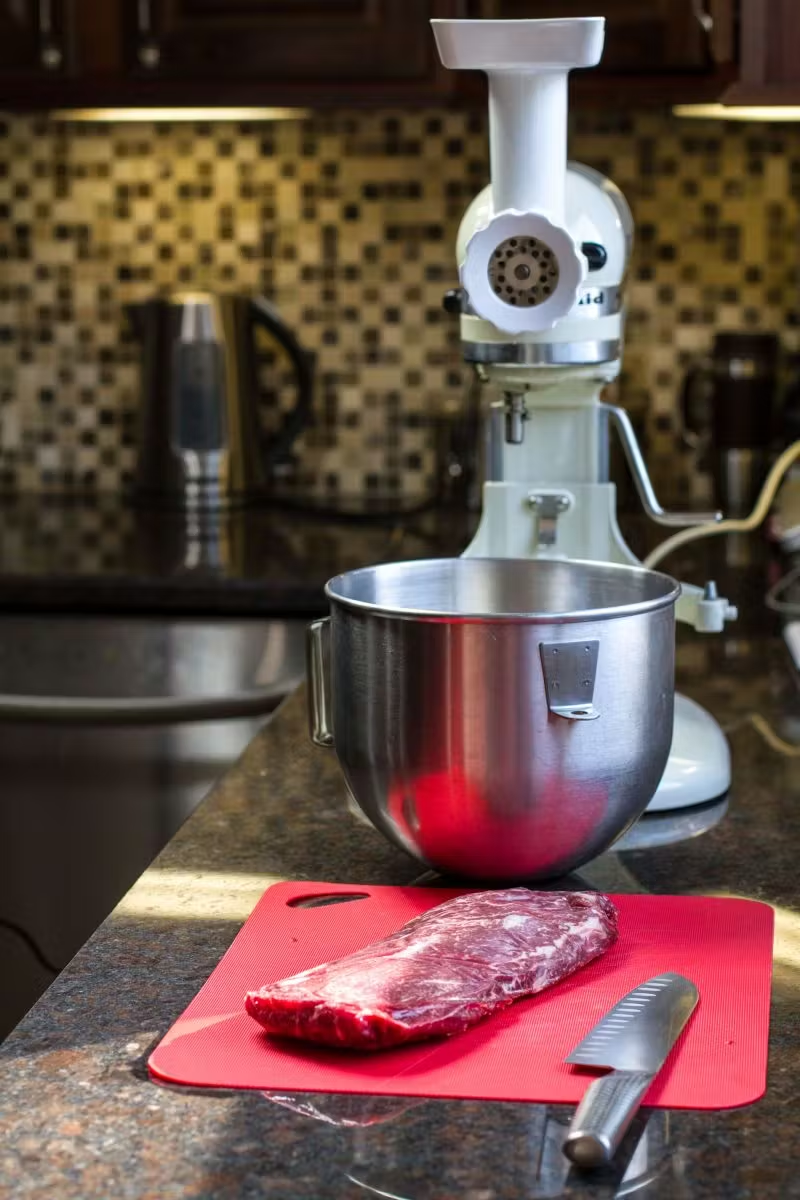 I use a grinder attachment on my stand mixer. It works great, and it wasn’t cost prohibitive. If you already have a stand mixer, you are 75% there. There is one more possibility, a food processor. It takes a little bit more effort but can work in a pinch.

Whether you are making burgers or meatloaf, the exciting part about grinding meat at home is having total control. In fact, while I’m writing this, I’m planking meatloaf on the kettle. The loaf is made from chuck roast and veal. Next week, it might be flat iron steak and pork shoulder. In the end, the meat decision is all mine.
If desired, you can really, and I mean really, go crazy with meat selections. However, no matter which direction you go, you want to maintain a good 80/20 ratio of meat to fat.
While I don’t have a calculation to make this happen, I opt for a visual examination and go for meat that is well marbled. If I want something leaner, like a trimmed beef brisket, I will bring in more fat from somewhere else, like a fatty piece of beef or pork.
When it comes to grinding, I find my best choices are usually chuck roast and flat iron steak. For pork, the shoulder reigns supreme.
If you are going to grind meat for the first time, here are some tips:
- Cut meat into 1 inch cubes.
- For safety, the meat must remain cold. Partial freezing also helps keep the juice in the meat and not all over the countertop. Place meat in the freezer for 15-30 minutes before grinding. The meat should be firm, but not frozen. If grinding more than a few pounds, think about placing the grinding attachments in the freeze for a few hours prior to use. Remember, cold is key.
- Wash your hands and keep a clean work surface, both before and after preparation.
- Cook the meat to an internal temperature of 160°F.
- Have fun. You are creating magic