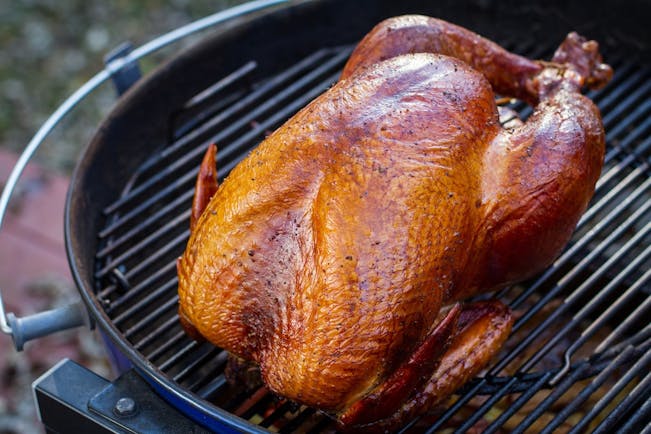
BBQ calls for low and slow
How to Smoke on a Kettle
While I often prepare pulled pork on my Weber Smokey Mountain Cooker, the same great results can be achieved on a Weber kettle. In fact, the benefit of a kettle is its flexibility.
BBQ Defined
You can grill and BBQ. Grilling uses direct heat underneath the meat. Think: steak. BBQ uses indirect heat, which is more like using an oven. The heat does not come in direct contact with the meat.
When I’m grilling a lot of meat, my Weber Smokey Mountain Cooker is always fired up. However, when it is just a few racks for me, the kettle is my BBQ grill of choice.
The great thing about BBQ on a kettle is it does not require any special tools or accessories but there are some that help make the job easier including Weber Briquettes, a chimney starter, and smoking woods.
How to smoke pulled pork
You can smoke lots of different things on your kettle but I am going to show you how smoke pulled pork.
Pulled pork is made from a pork shoulder from the front legs of a hog. The blade pork roast, or what is sometimes called the Boston Butt, is the upper part of the arm. When shopping for blade pork roast, be sure it is not boneless. The bone adds a lot to the cut, and when it is finished cooking, nothing beats extracting a clean bone from a mountain of cooked pork.
Step 1: Make the Rub
The initial flavor for the pork is provided by the rub. The rub is a blend of spices that are worked into the pork prior to cooking. Rubs are like relatives; everyone has one. Here is one I use:
Ingredients:
2 Tablespoons Dark Brown Sugar
2 Tablespoons Sweet Paprika
1 teaspoon Cumin
1 teaspoon Garlic
1 teaspoon Freshly Ground Pepper
1 teaspoon Sea Salt
1/2 teaspoon Ground Mustard
1/8 teaspoon Celery Seed
1/2 teaspoon Ancho Chili Powder
Mix all of the ingredients together in a bowl until well blended.
The rub can either be added right before the cook or the night before. The choice is up to you.
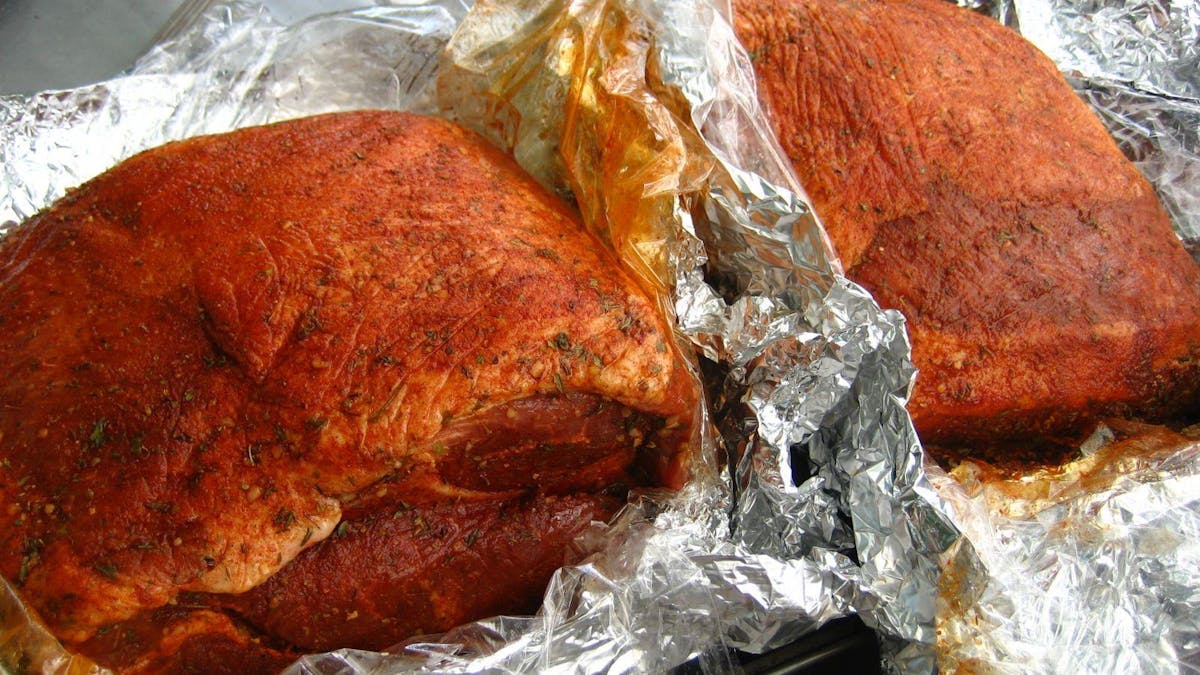
Prepped blade pork roast ready for the grill
One of the keys to good pulled pork is smoke. Thankfully, adding smoke to the grill is easy. For pork, I use sweet woods such as maple or apple. Using a harsher species, like mesquite, might provide too harsh of a taste.
Step 2: Set-up the grill
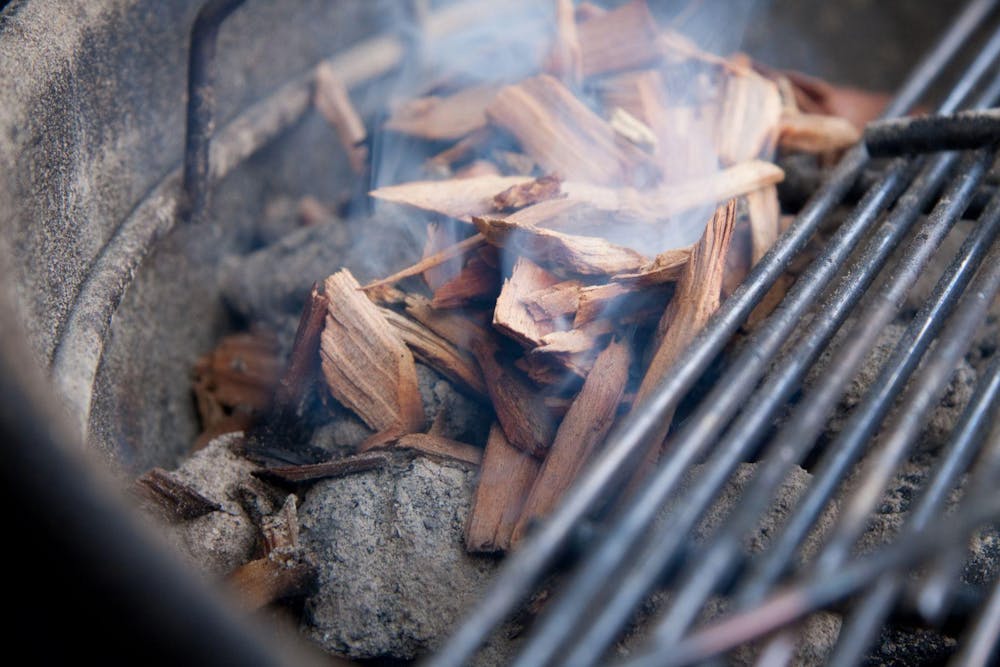
Smoking soaked wood chips
Soak approximately two large handfuls of wood chips in a large bowl of water for about an hour. Although I said "chips," you can also use wood chunks. If you use chunks, be sure to soak them longer, so the wood becomes saturated with water. Soak the wood so it "smokes" when added to the grill instead of burning up.
Cooking a five-pound pork shoulder can take upwards of 9 hours. That is a long time to keep your kettle grill at an optimal temperature of 250°F. Also, you want to minimize the number of times you open the grill lid because every time you do, you lower the grill temperature and effectively lengthen the amount of time for the cook.
The best way to maintain a low and steady temperature is by using a process known as the Modified Minion Method. By adding lit coals on top of unlit coals, you can maintain a low-temperature fire for a long period of time. The lit coals will slowly heat up the unlit coals. It is a great process. Weber Briquettes burn long so you won't have to refuel as often!
Place approximately 70-72 unlit Weber Briquettes to one side of your grill, or two piles of 36 Weber Briquettes to both sides. Place approximately 16 Weber Briquettes in your charcoal chimney and light the chimney.
Heat the coals until they have ashed over (turned grey).
Place an aluminum foil pan in the bottom of the kettle in the location that will be directly below the meat. This will either be in the middle or off to the side. Place a small amount of water in the pan. The pan will catch any drippings from the meat and prevent them from burning.
With the pan in place, add your lit coals to the unlit coals.
Add a handful of soaked wood chips to the lit coals. Place the grate on the kettle, close the lid, and wait for smoke.
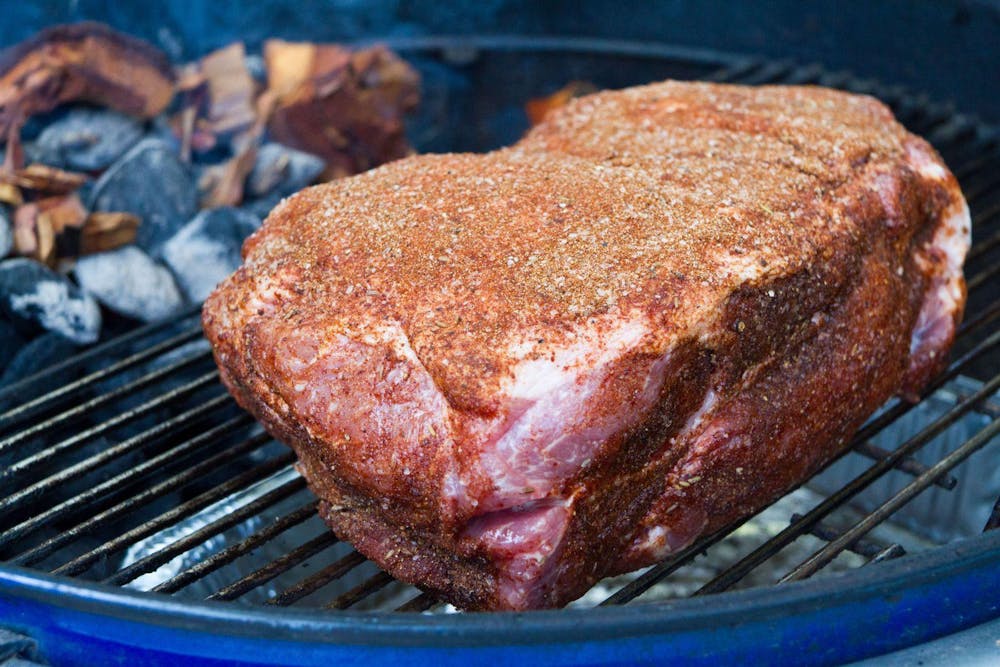
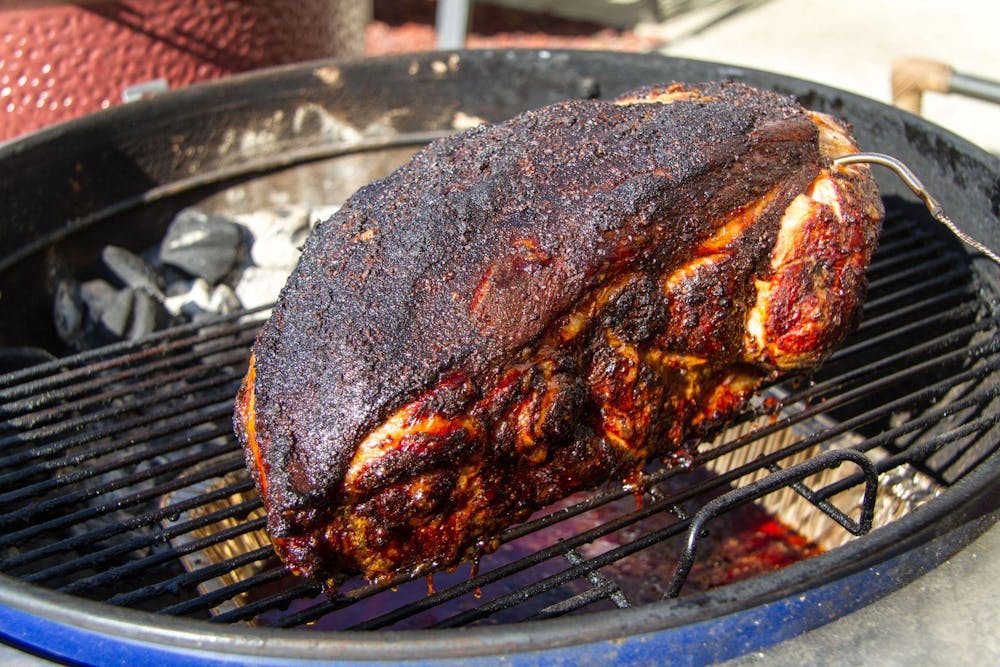
Pork on the grill
The temperature of the kettle needs to be around 250°F. This is done by controlling the top and bottom vents of the grill to restrict the flow of oxygen. To start out, move the bottom vent, so it is half closed and close the top vent almost all of the way.
Although controlling the temperature of the grill by the vents might seem difficult, it's not.
Adjust your top vent until you hit 250°F. Make small adjustments. Open it more to raise the temp and close it to lower it. Unless you have some wild temperature swings, your bottom vent will remain untouched for almost the whole cook.
With smoke pouring out of your grill and the temperature gauge around 250°F, you are ready to place the pork on the grill.
Step 3: Smoke/Grill
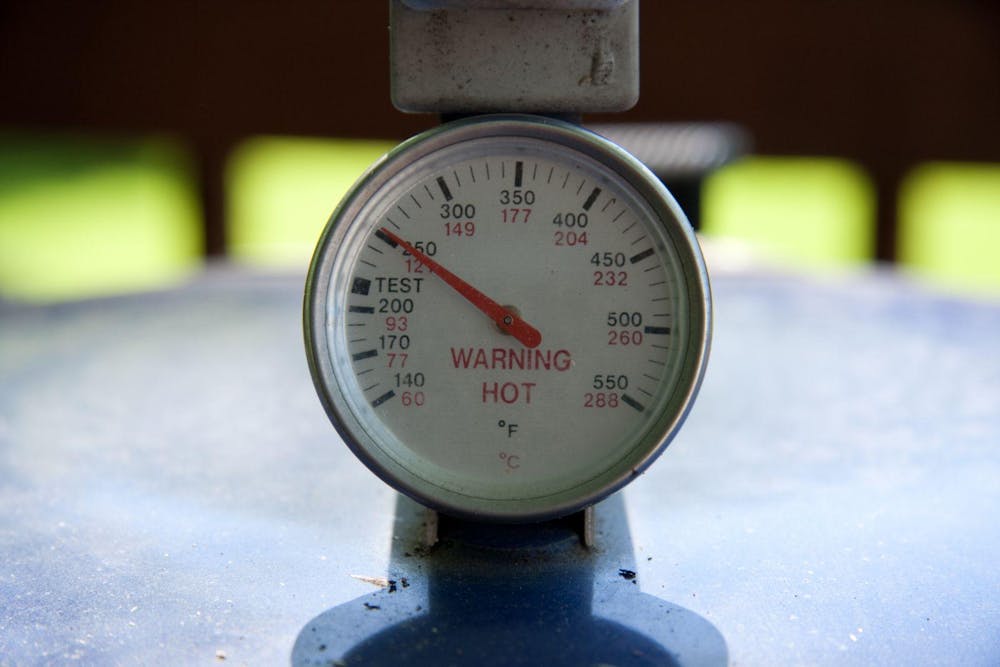
250°F – perfect!
Place the pork on the grate and close the lid.
Plan on at least 9 hours to cook the pork. This is in addition to the prep time of readying your grill. Needless to say, if you are planning this meal for dinner, start early or your "dinner" may turn into a "midnight snack!”
Once the pork is on, the grill will need periodic checking to ensure the temperature is where it should be. Some temperature movement is normal, and swings from 225- 275°F is fine. Just adjust your vents to keep yourself on target.
Avoid opening the kettle lid at all costs. Doing so will just let out valuable heat. Instead, grab yourself a good beer, sit back and enjoy the sight and the smell of your grill.
As the day goes on and your temperature begins to drop, work your top vent to allow more oxygen to flow through the kettle. If your temperature really drops, add some additional lit coals to get your temperature back up. However, in most cases this is not necessary.
You want to cook the pork until it has an internal temperature of 190°F. Although the pork is technically cooked past 150°F, 190°F ensures this tough piece of meat is transformed into a moist and delicious feast.
Start checking the pork around the 7 1/2-hour mark to see how far you are from the end. Although the internal temperature will rise very fast at the beginning of the cook, it will move very slow towards the end.

It’s finally done!
Remove the bone
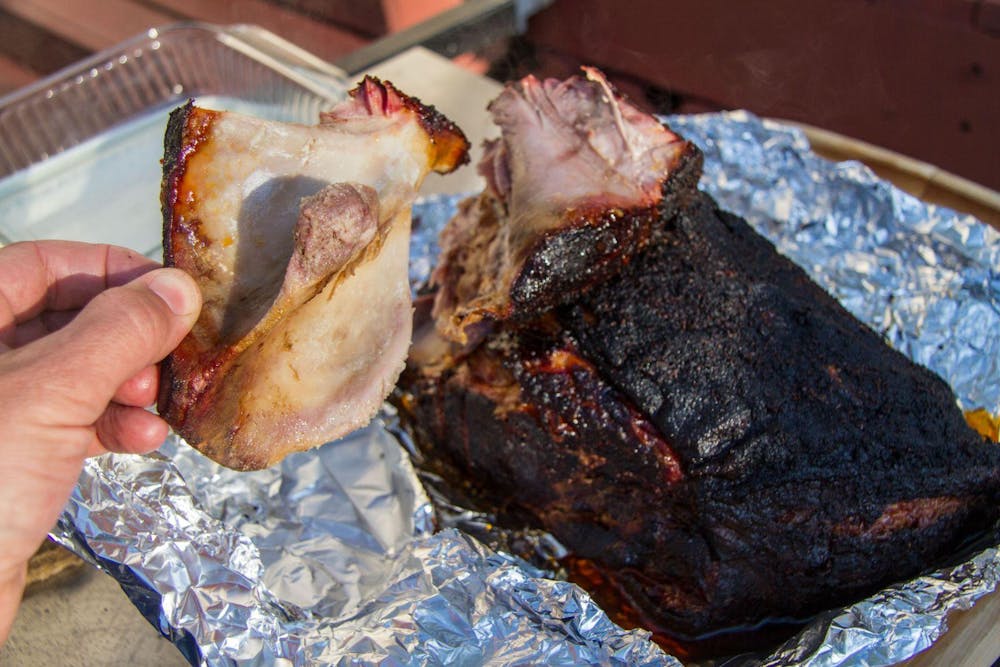
When the temperature probe reads 190F, the pork is finally done. Remove the pork from the grill and wrap it aluminum foil. The pork should “rest” at least 30 minutes.
With the rest done, it’s time to get ready to eat.
Give a firm tug on the bone, and it should slide clean out of the meat.
Then, using a knife, fork, or even your hands, pull the pork apart. Try not to eat too much as you go. I bet it smells and tastes great!
Enjoy your masterpiece!
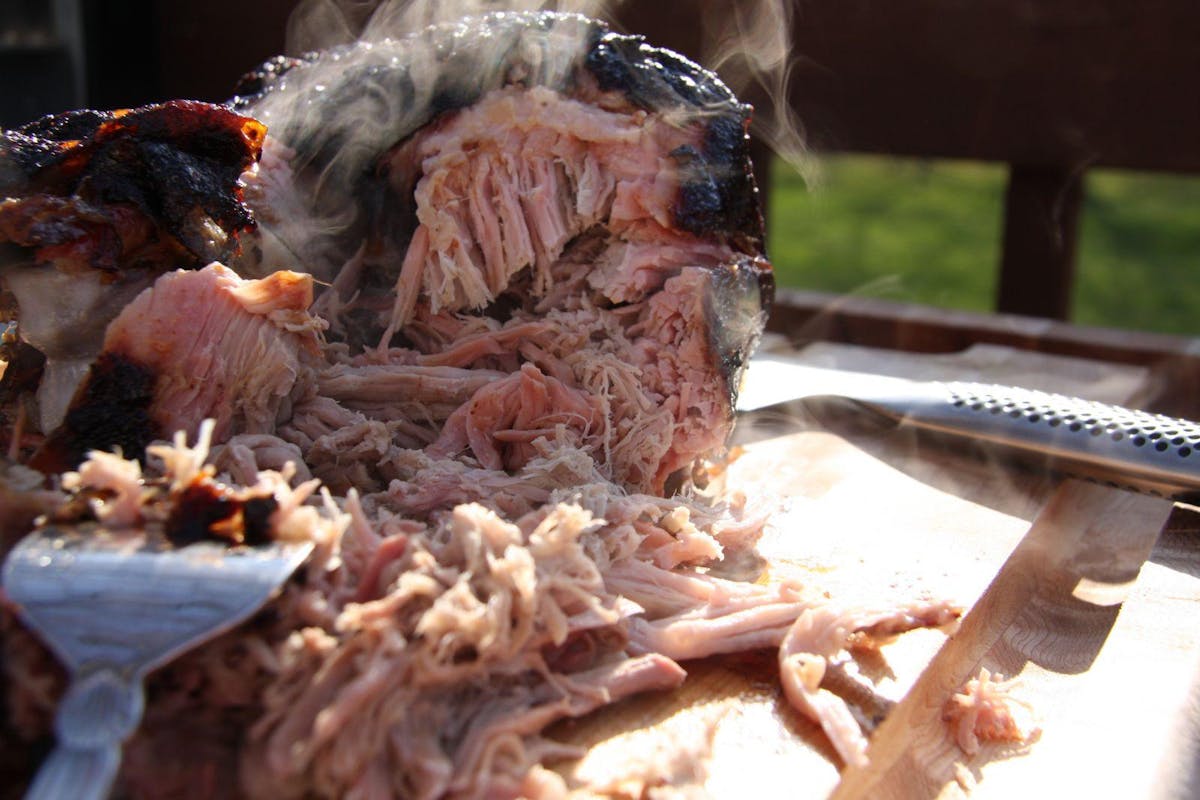
With your pork masterpiece complete, serve it however you like and with whatever you want. Top it with a vinegar sauce, mustard sauce, red sauce, bun, or no bun, it is entirely up to you.
This process works great for me, I hope it works just as good for you. Enjoy!