Tips For Mastering Smoked Pulled Pork
How To Smoke Winning Game Day Pulled Pork Sandwiches
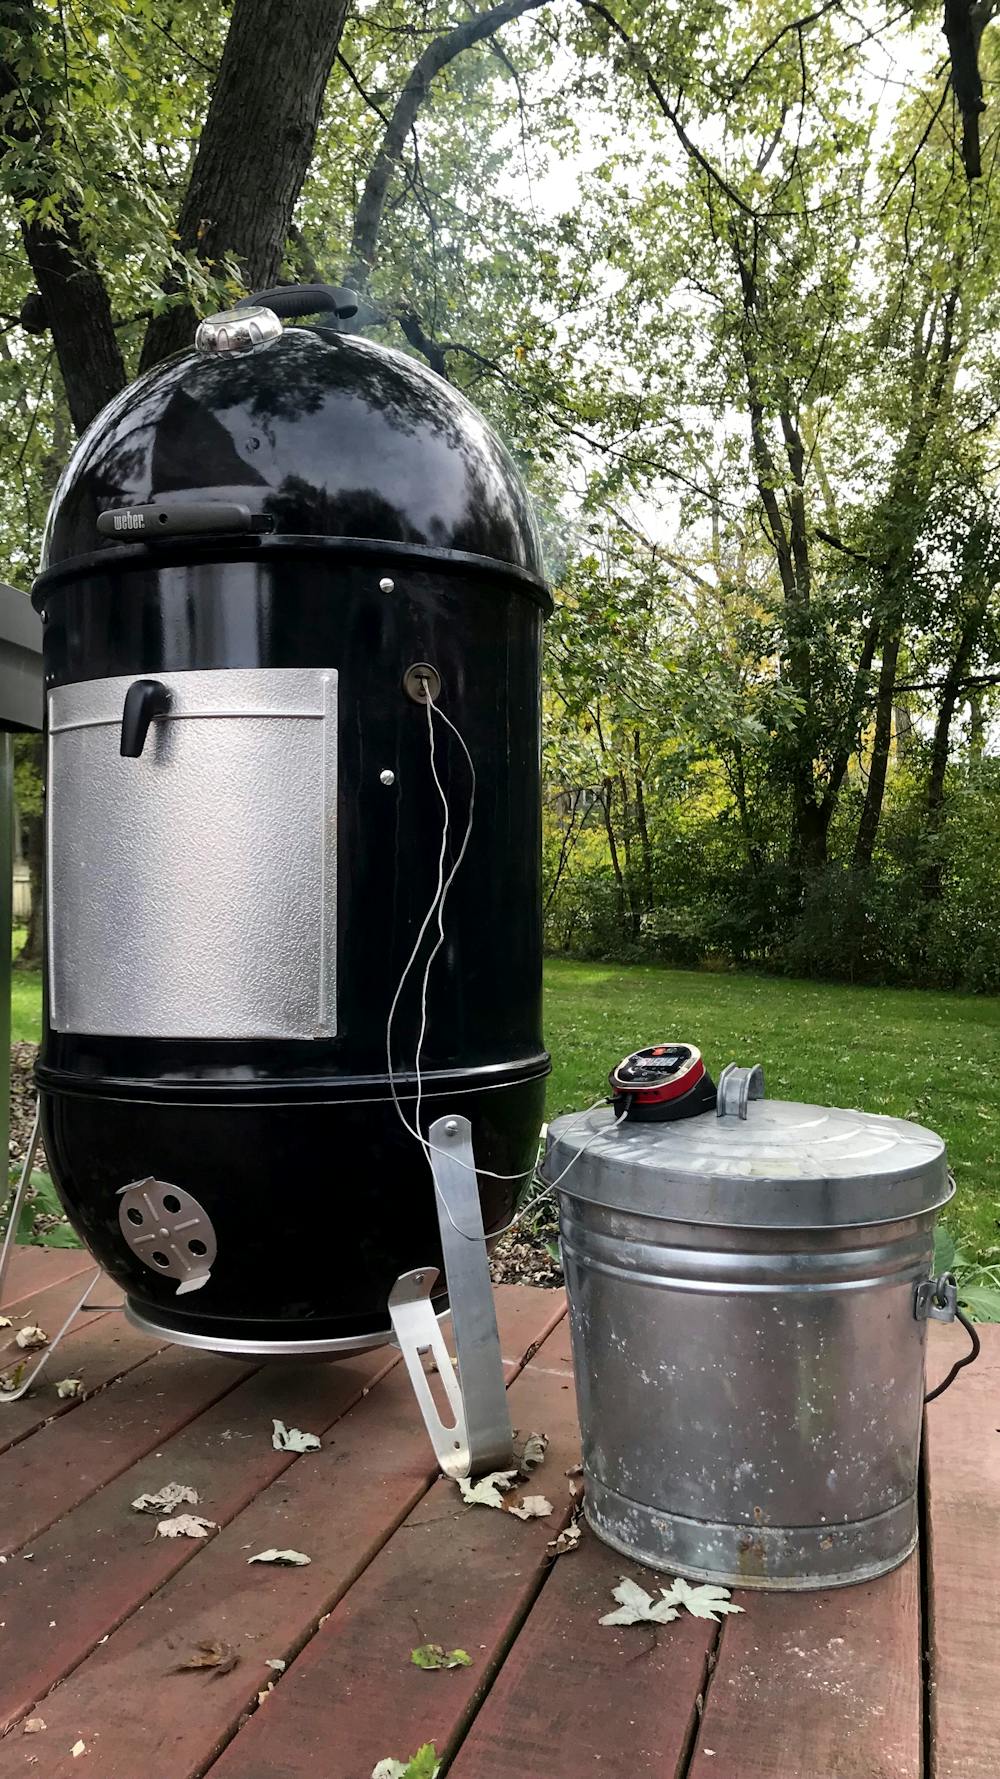
Many years ago on my original Red Performer, I learned to smoke pulled pork. It was a magical experience. While the kettle has turned out some amazing pork, I do my best smoking on the Weber Smokey Mountain Cooker, or WSM, for short. Don’t get me wrong, my kettles can do anything, but for a long term, smoke-infused, frustration free cook, the WSM is where it goes down.
Starting the Fire
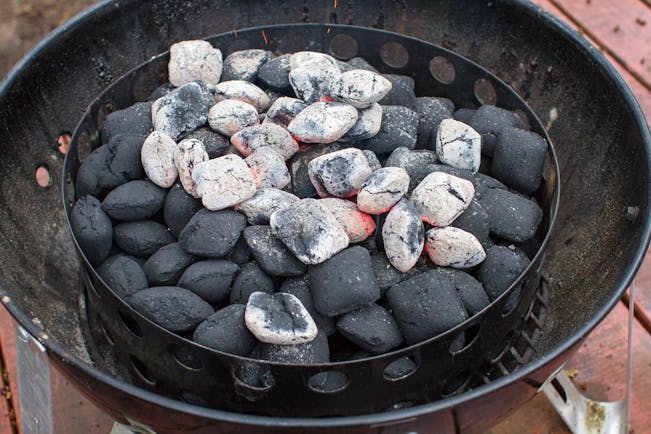
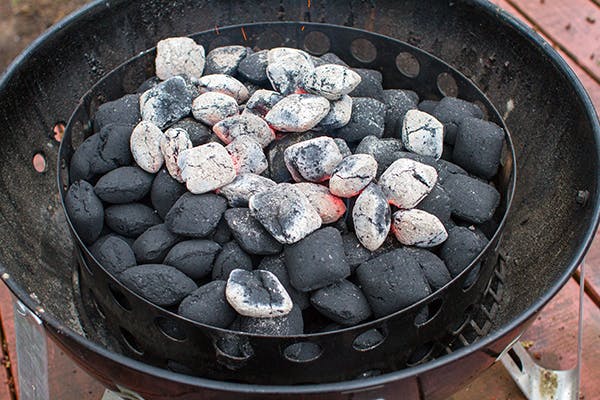
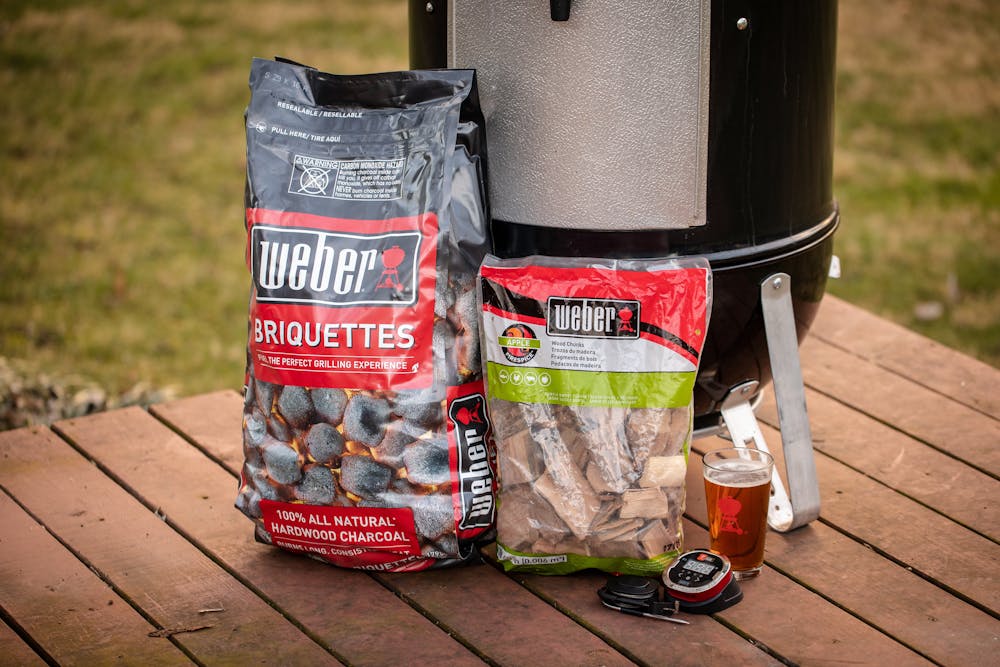
With the WSM separated into its three components, add unlit Weber Briquettes filling up the charcoal ring. Load a charcoal chimney half full with Weber Briquettes and light. Once the coals begin to ash over add them to the unlit coals.
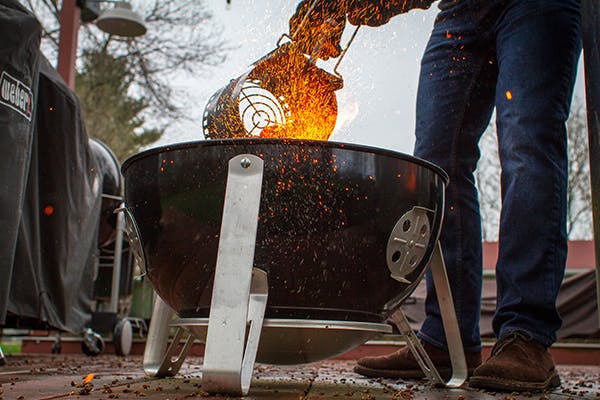
BBQ is low and slow cooking. By adding lit coals to unlit coals, we are maintaining a low temperature to smoke which will last for hours without having to reload fuel.
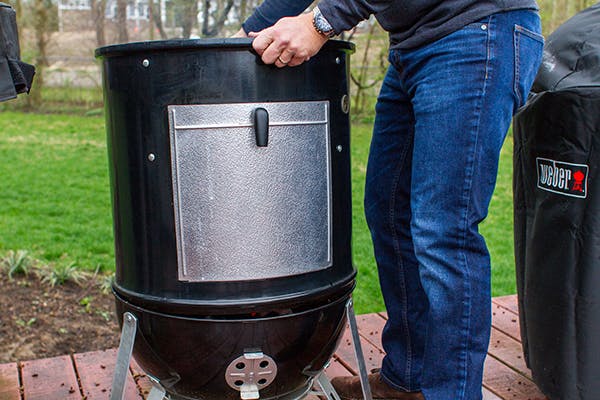
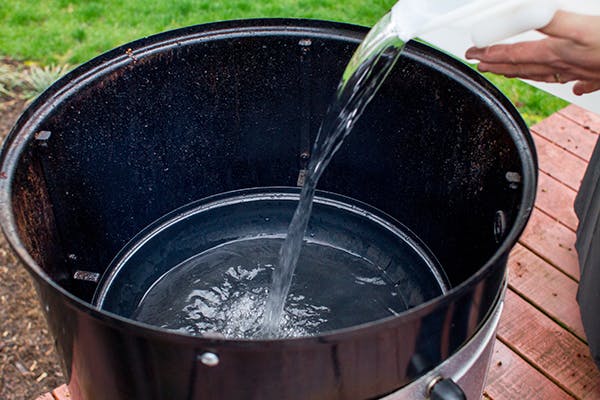
Replace the center section with the water pan and fill the water pan completely with water.
Add the cooking grates. Now is a perfect time to place the ambient temperature probe for the iGrill2. There is a lot of vertical distance inside the WSM and with the distance comes slight temperature variation. For instance, the upper grate will run slightly warmer than the lower grate and the lid thermometer slightly warmer than the upper grate. The grate level probe is the best way to remotely monitor the temperature at the level of the food. I never smoke without it.
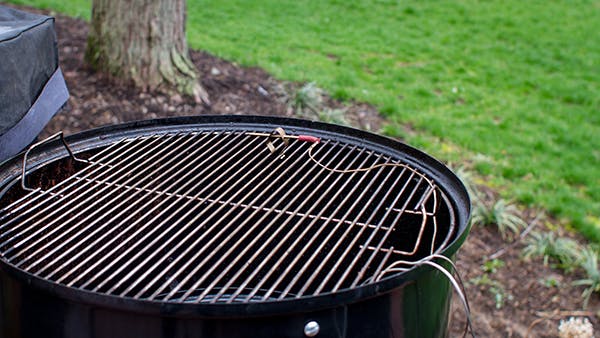
Lower the lid. Start out with the lower three vents half open. As the temperature approaches 200-225 °F, rotate the three lower vents until they are almost all the way closed. The top vent on the lid should remain open. 225 °F is an ideal smoking temperature, but you will do fine anywhere between 200-250°F.
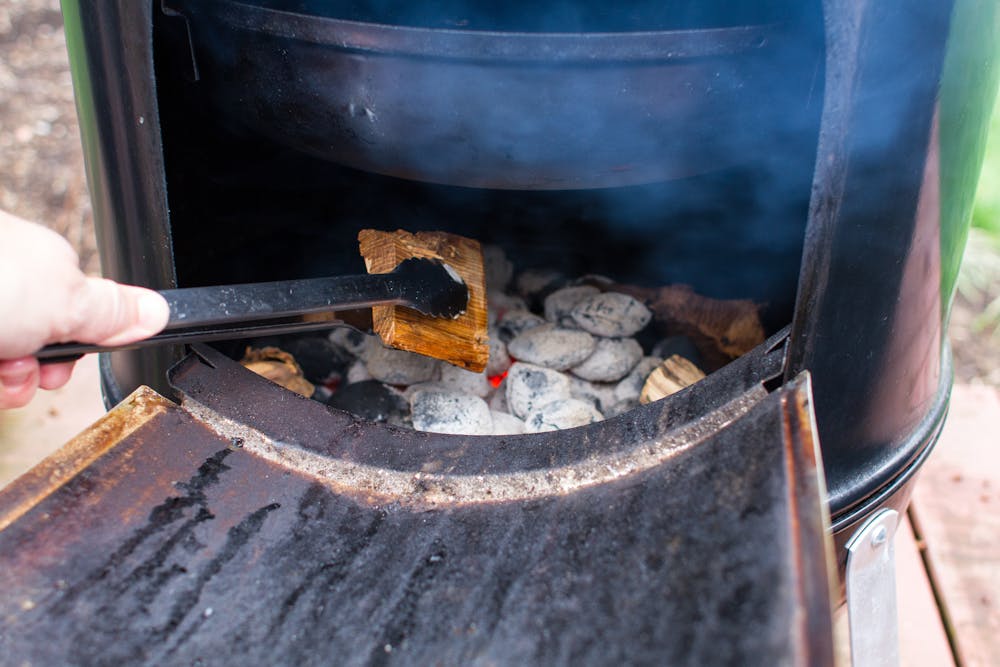
With the temperature in range, add three to four large chunks of wood. Sweet varieties, such as apple or cherry work fantastic. Use a particular species, or go for a combination as you perfect your ‘Que!

Once you see a light blue wispy smoke, the WSM is ready to cook!
The Meat
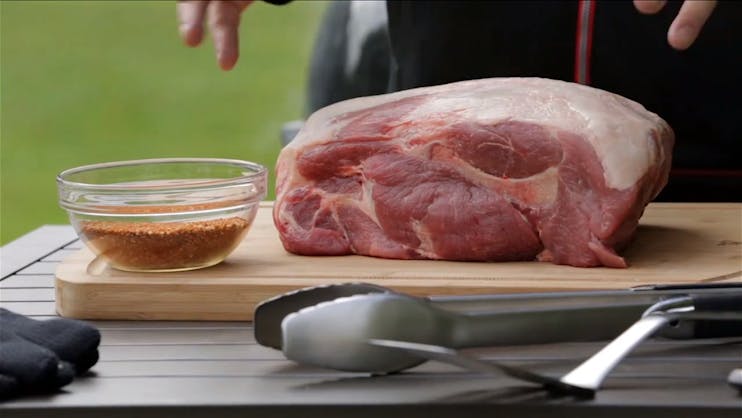
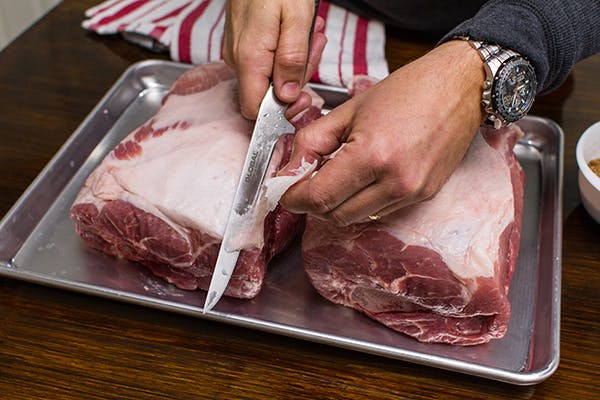
The cut of meat for pulled pork, commonly known as a Boston Roast or Boston Butt, comes from the upper part of a hog’s shoulder. Containing part of the shoulder blade, it is high in fat, which is the key to its superb flavor. The cut can weigh anywhere from 6 - 10 pounds.
To prepare the pork, remove any excessive fat, leaving about ¼ inch across the "fat cap."
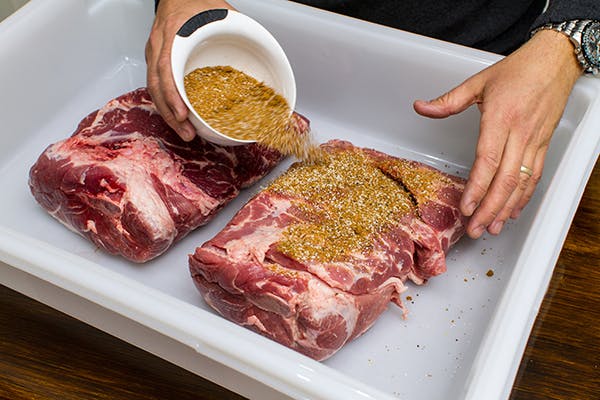
Using your favorite BBQ rub, generously rub the meat all over. I find it easier and more efficient to use a plastic tub when rubbing the pork. It certainly makes cleanup a snap and saves the kitchen from disaster.
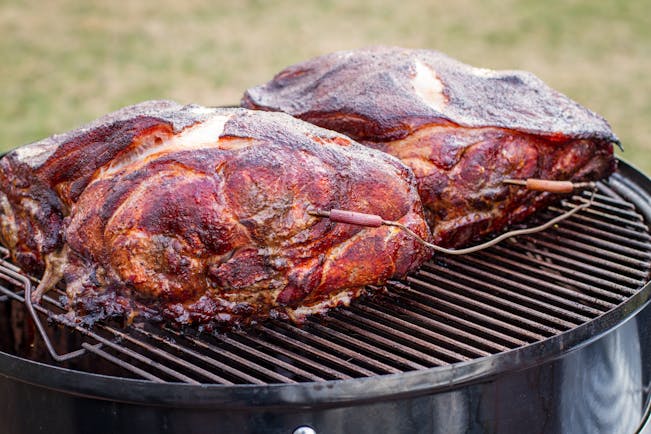
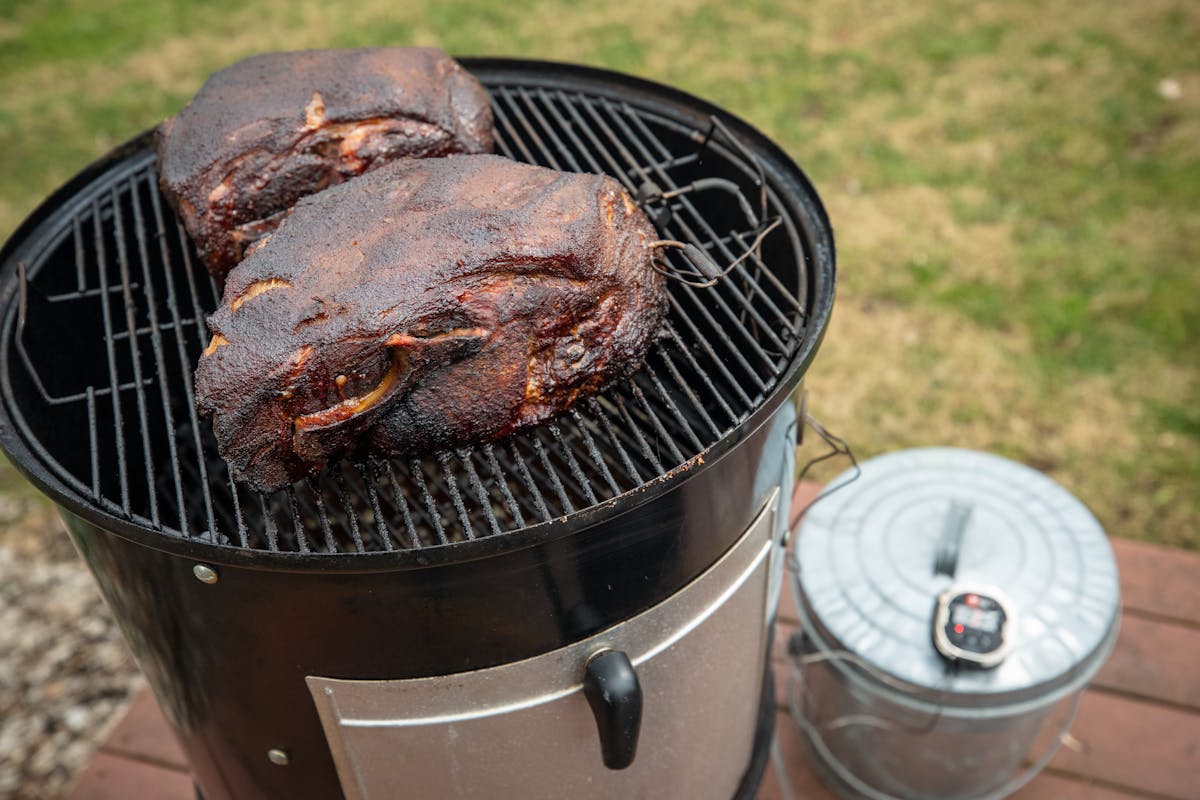
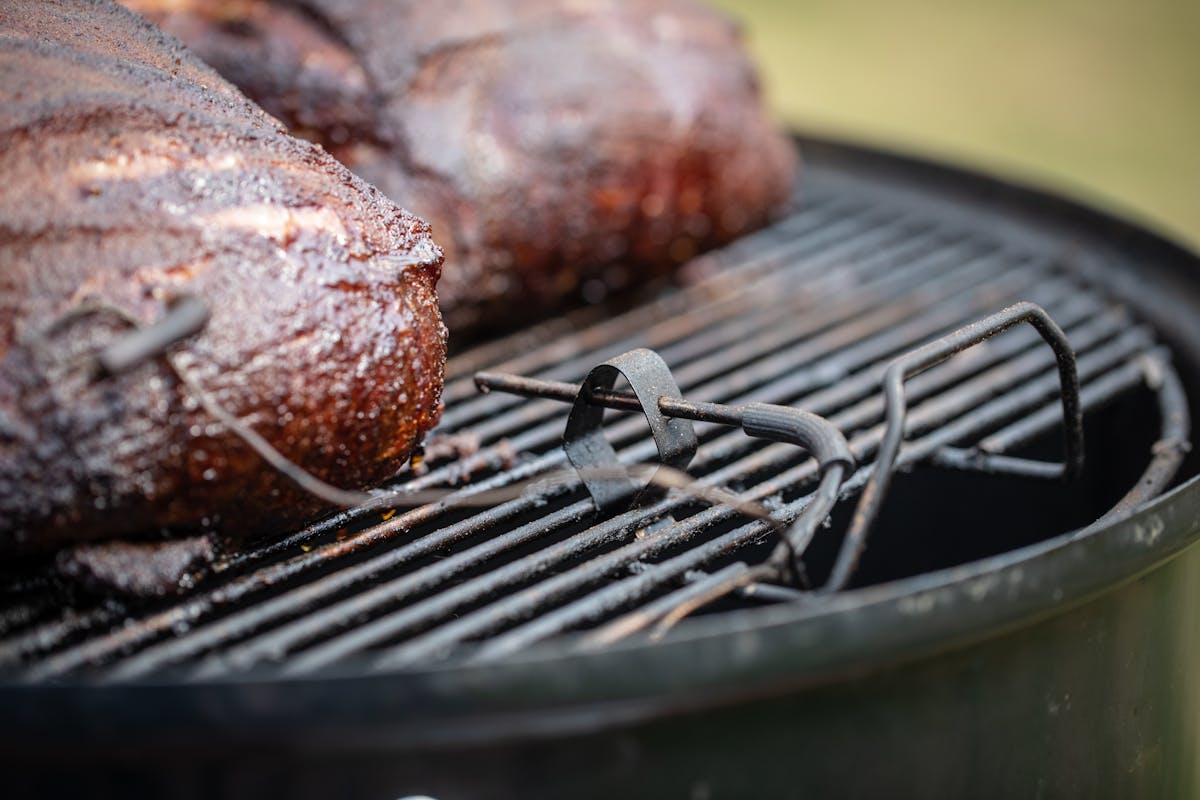
Place the pork on the grill fat side up and insert an iGrill probe into the center mass of each piece being careful to avoid contact with the bone.
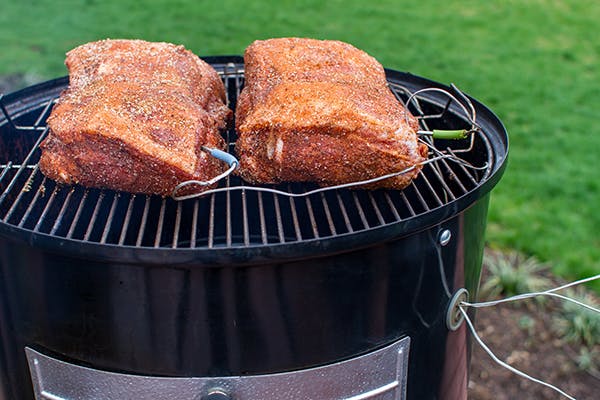
Work the probe wires back out through the rubber grommet on the side of the smoker.
Lower the lid and kick back.
Once the cook is underway and the WSM is “in the zone,” it only needs periodic checking. The pork should be removed when its internal temperature hits 200° F. Depending on the size and amount of meat in the smoker, this can take 8-10 hours. If later in the cook the temperature of the smoker begins to climb, additional water may need added to the water pan, as water is lost to evaporation.
With the pork at temperature, remove from the WSM, wrap in foil, and place in a cooler to “rest.” The rest should be a minimum of one hour, but can last for several. During this time, the juices in the pork redistribute themselves. The rest can be the difference between good and great pulled pork.
With the rest complete, place the pork on a cutting board. Part of the shoulder blade should be visible. Give it a pull and if cooked right, the bone should cleanly pull out of the pork. From there, use a pair of heat resistant gloves and pull the pork apart with your hands. It should shred effortlessly.
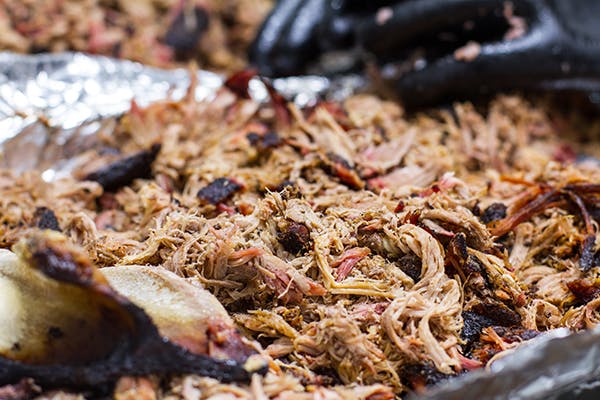
Pulled pork is a serious investment in time, but the payout is more than worth it. It’s BBQ at it’s finest and it’s all in your own backyard.
Your Must Have Tools


1. iGrill
Know the internal temperature pork butt at all times with the iGrill app-connected thermometer.
2. iGrill Ambient Probe
Monitor the temperature of your grill or smoker from the convenience of your smart phone with the iGrill Ambient Probe. The probe clips onto your grill grate to provide exact ambient temperature tracking. You will need to have an iGrill unit to make the ambient probe work.

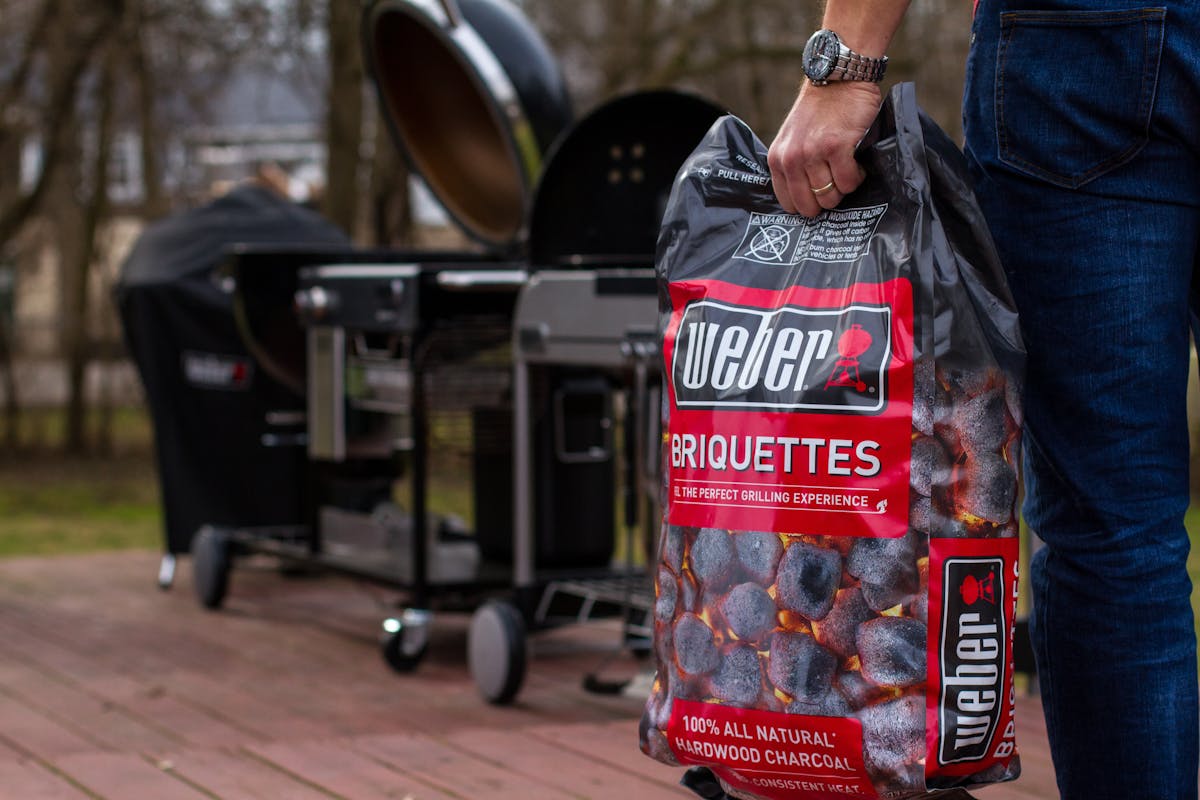
4. Briquettes
The perfect meal deserves the best fuel to execute it. The Weber Briquettes burn long and strong, and are 100% natural with no added chemicals, so that all you taste is food.
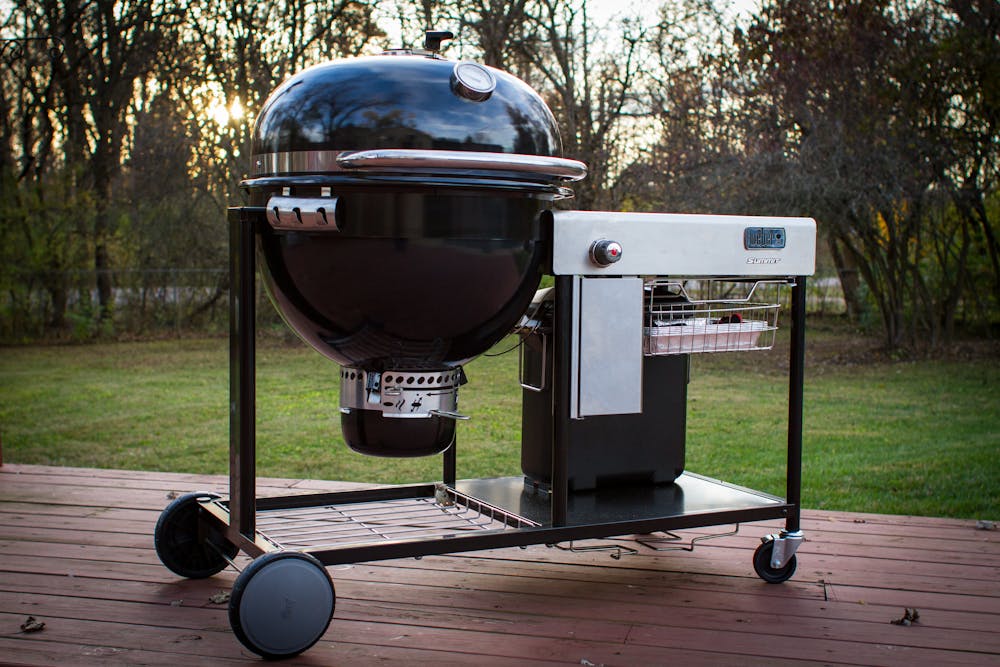
5. Smoker
For a long term, smoke-infused, frustration free cook, the Smokey Mountain Cooker Smoker or the Summit Charcoal Grill are going to be your best bets.
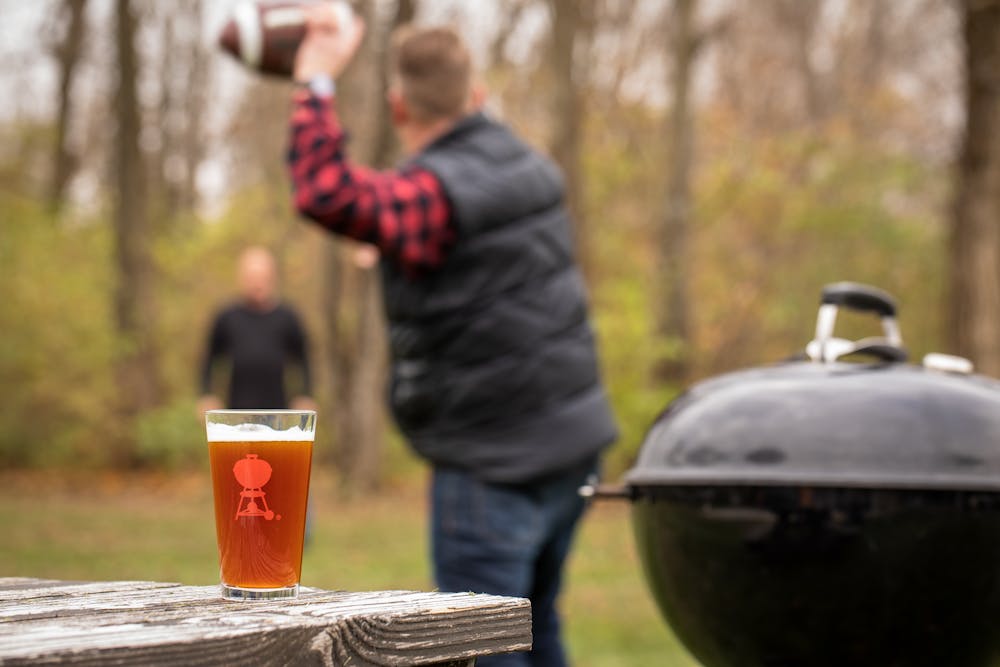
6. Pint Glasses
Don't watch the game empty handed!